

This guide will explain how to create an isometric drawing using Microsoft Excel.
Isometric drawings are commonly used in technical and engineering projects. We can use Excel’s Shapes feature and Draw tab to sketch out a similar type of drawing.
Table of Contents
The isometric projection is a type of graphical representation used by engineers and technical illustrators. The three-dimensional effect is achieved by applying a 30-degree angle to each dimension.
While Excel is not your typical application for illustration, the program comes with built-in illustration tools that we can use to our advantage.
For example, Microsoft Excel supports the insertion of different shapes into your spreadsheet. Besides the common shapes, such as the square, Excel lets users create their own shapes using the freeform shape feature.
The user can use an isometric projection template to help place the shapes at the right angles. Afterwards, the user may also choose to add labels to their drawing by inserting one or more text boxes.
Let’s take a look at a simple, practical example where we will need to create an isometric drawing.
Suppose you are a Geometry teacher who wants to illustrate a particular problem for an exam. One of the problems in your exam involves finding the volume of a rectangular prism with a specific length, width, and height.
You’ve also decided to use an isometric projection so that the students can have a clearer idea of the dimensions of each edge.
With the Insert Shapes feature, it also becomes quite easy to create your own geometric illustrations without having to leave the Excel program.
We can also use the options in the Draw tab to sketch out our isometric drawing using our digital pen, touchscreen, or mouse cursor.
The above example is just one of many possible use cases for drawing isometric illustrations in Excel. Now that we know how to create isometric drawings in Excel, let’s take a look at a sample spreadsheet!
A Real Example of an Isometric Drawing in Excel
The following section provides several examples of isometric drawings in Excel. We will also go into detail about the formulas and tools used in these examples.
First, let’s take a look at an example of an isometric projection made with Excel shapes.
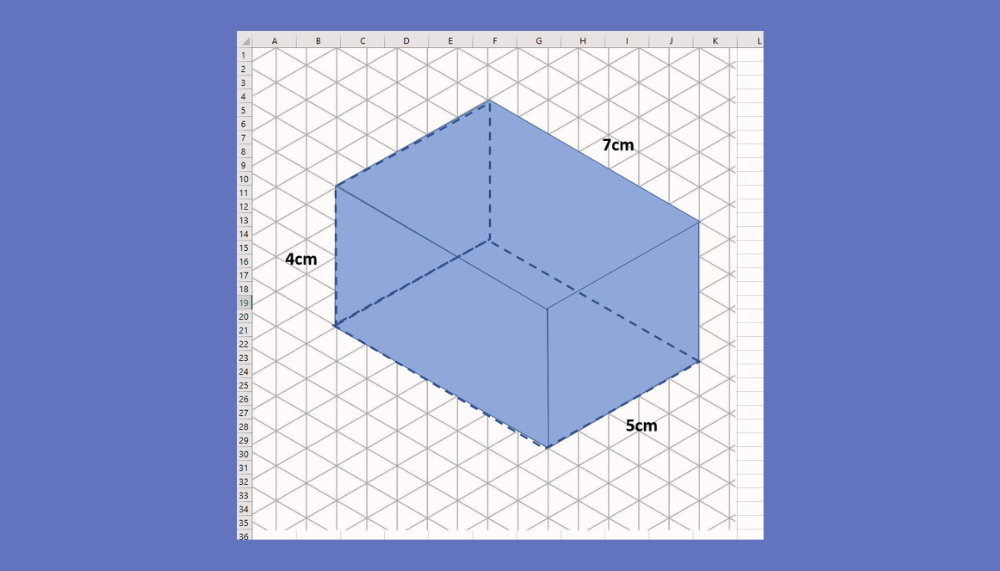
In the example below, we created an isometric projection of a rectangular prism. We’ve also added three text boxes to indicate the lengths of each dimension. Each side in the prism below is its own freeform shape.
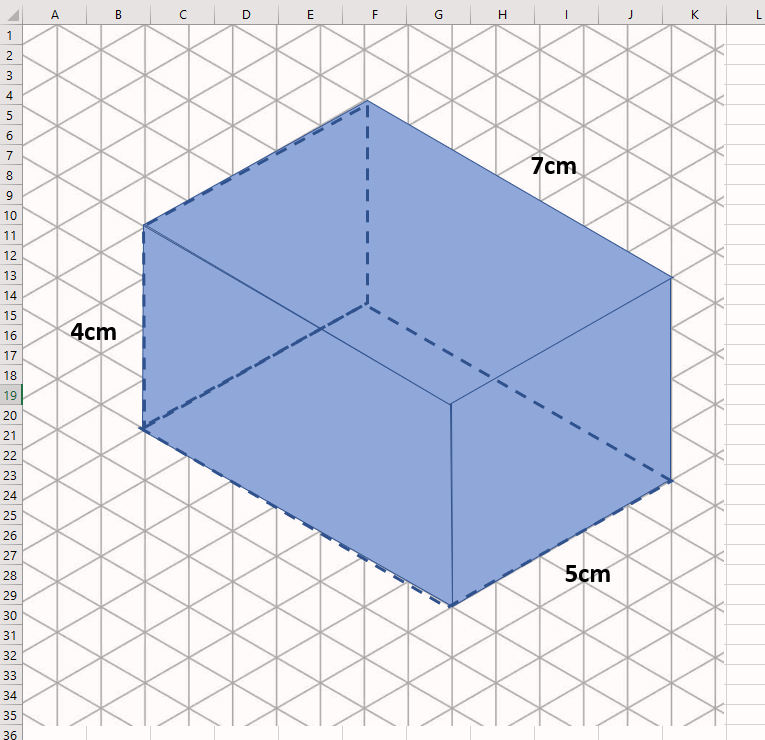
The background contains an isometric grid that helps the user place and measure each shape.
Next, let’s see how we can use another Excel tool to create a rougher, sketch-like drawing that still follows an isometric projection.
In the spreadsheet below, we have a more complex shape that was built using the Draw tool.

The Draw tab offers a few options for drawing shapes. The example shown above uses the pen drawing texture.
Do you want to take a closer look at our examples? You can make your own copy of the spreadsheet above using the link attached below.
Use our sample spreadsheet to see what kinds of freeform shapes create the final product. If you’re ready to try drawing isometric illustrations yourself, head over to the next section to read our step-by-step breakdown on how to do it!
How to Draw an Isometric Drawing in Excel
This section will guide you through each step needed to start illustrating isometric drawings in Excel. You’ll learn two separate methods to create isometric illustrations: by inserting shapes and by using the Draw tab.
Follow these steps to create an isometric drawing in Excel:
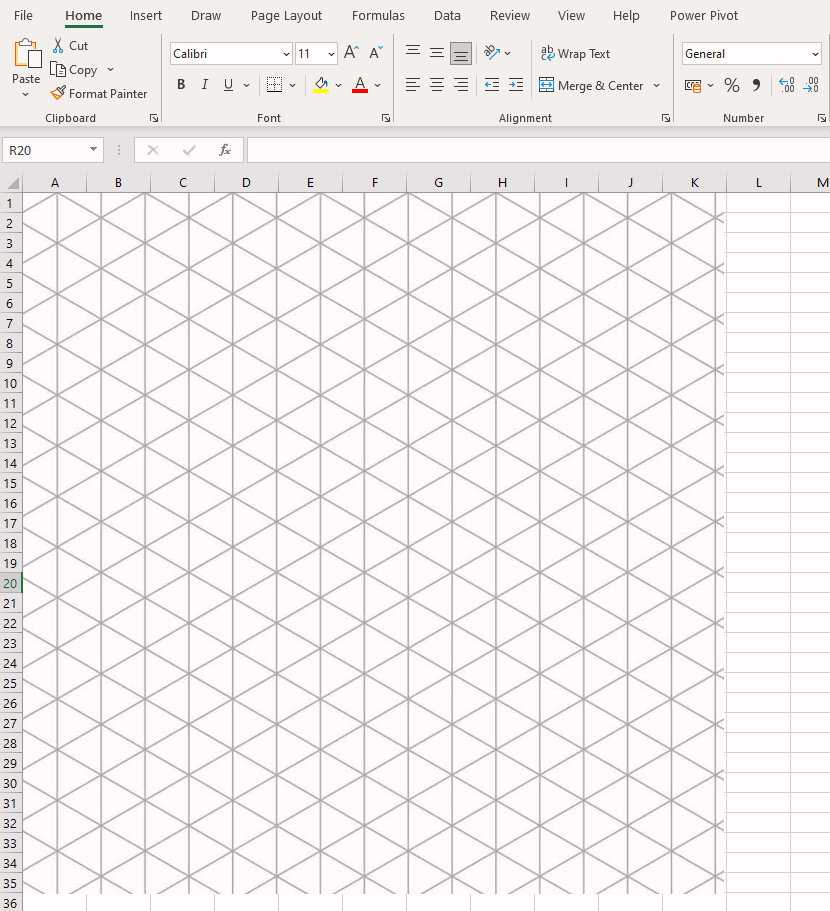
- First, we must add an isometric grid template to our Excel spreadsheet. You can find images of these templates online.
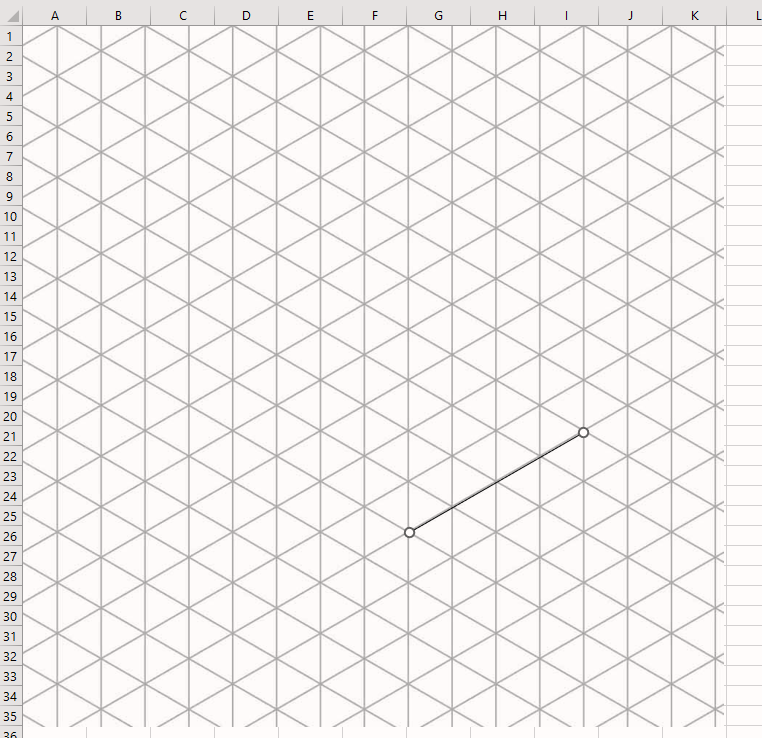
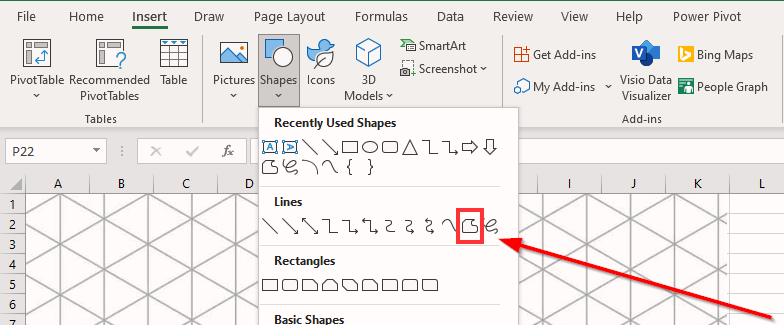
- Let’s start by using the Shapes method of drawing isometric illustrations. In the Insert tab, click on the Shapes icon. Click on the first option under Lines to add a new line to our spreadsheet.

- We can use the grid as a guide for where to place the lines. Isometric drawings are designed to be easy to measure out. In the example below, we can easily determine that the line is four units long.
- We can add a line with the same measurements further back in 3D space. Unlike a perspective image, the line’s perceived size does not shrink.

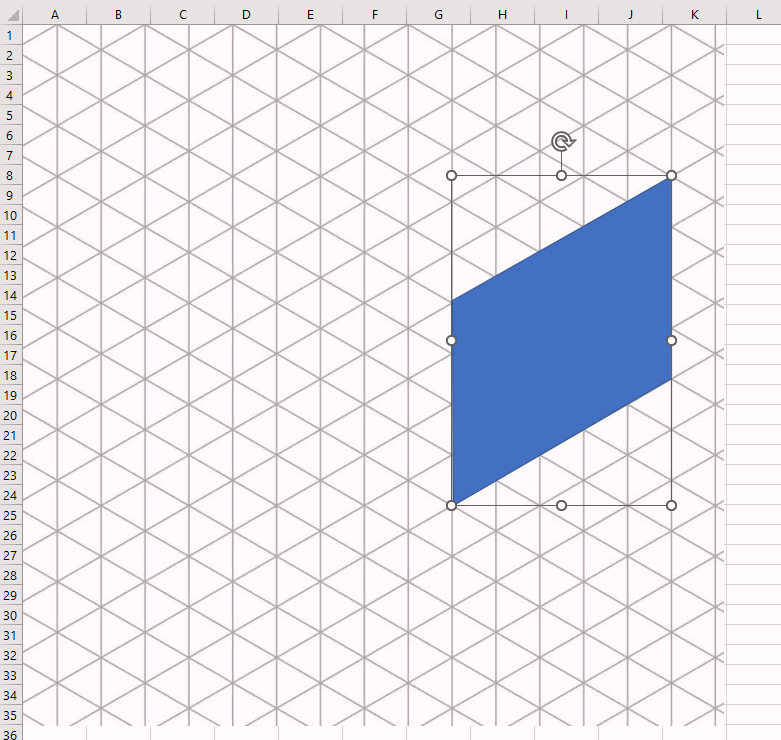
- To create one side of our rectangular prism, we’ll use the freeform shape option seen below.
- Use your cursor to create a shape that follows the isometric grid.
- We can continue the same process for the remaining six sides. In the example below, we’ve also added additional formatting to indicate that some edges are hidden from view.

- We can also insert text boxes on our illustration to label each measurement. The text box option can also be found under Shapes.
- We can also use the Draw tools to create an isometric drawing. Head to the Draw tab and select the texture you want to use.

- Using your mouse cursor, you can trace the lines in the isometric grid to help you create an isometric drawing.
These are all the steps you need to make an isometric drawing in Excel.
This step-by-step guide is a quick introduction to using the Draw tab and the Insert Shape feature to make isometric drawings in Excel.
Drawing illustrations is just one example of a unique use case that takes advantage of Excel’s array of tools and features. Our website also offers hundreds of other functions and methods to help you get more out of Microsoft Excel.
With so many other Excel functions available, you can find one appropriate for your use case.
Don’t miss out on our team’s new spreadsheet tips, tricks, and best practices. Subscribe to our newsletter to stay updated on the latest guides from us!


