


This guide will explain how to remove table formatting in Excel using five easy and simple ways.
Excel is a powerful tool that allows us to perform many different things. And one feature we can do in Excel is creating tables. Excel has an excellent built-in feature that allows us to easily create tables.
Furthermore, tables in Excel are a great way to organize and manipulate our data. For example, we can create pivot tables and filter data. When we place our data in a table, it will be formatted with one of the built-in styles Excel has.
Additionally, Excel automatically formats imported data or data linked to a database as a table. However, there are times when you want to remove the table formatting in Excel.
And there can also be times when we want to convert the table to a range, or we want to only clear the format but keep it as a table. Moreover, we can also want to delete a table including all the table formatting it comes with whether automatically or manually applied.
Let’s take a sample scenario wherein you need to remove the table formatting in Excel.
Suppose you imported data into a new Excel worksheet. And Excel automatically formatted the data set as a table. But, you want to remove the formatting and work with the raw data.
Worry not, there are many ways you can go about removing table formatting in Excel. In this guide, we will discuss five easy and simple methods to remove table formatting in Excel.
Removing Only the Table Formatting and Keeping the Table
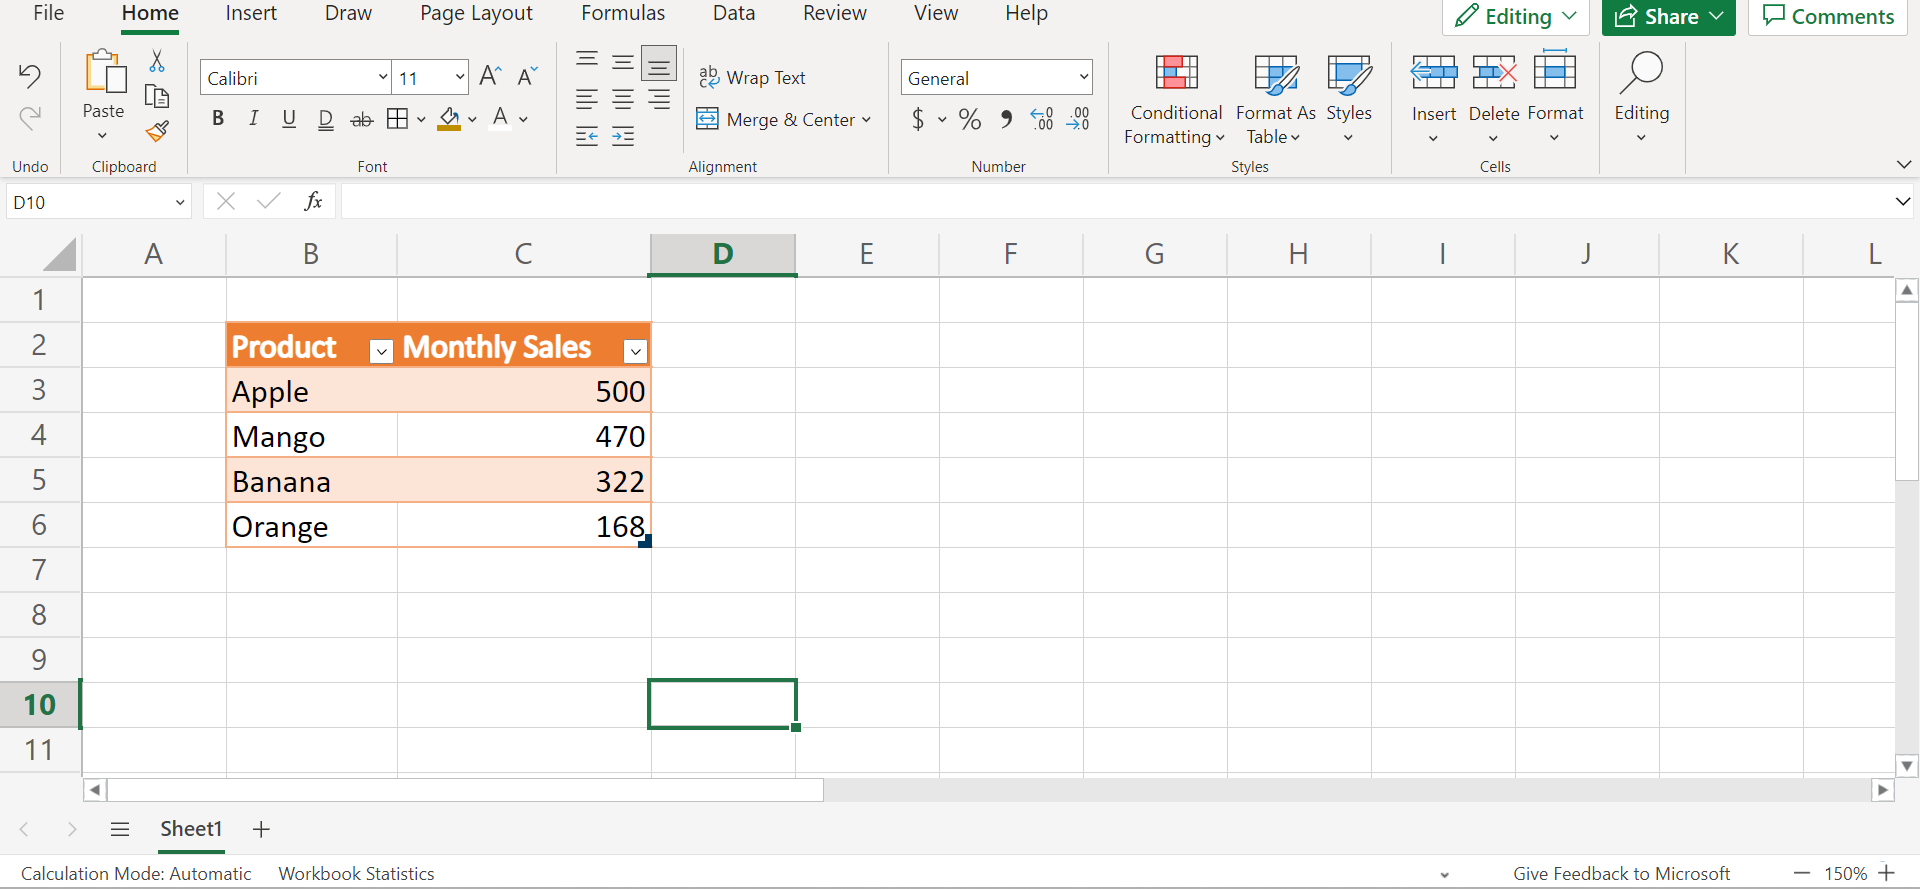
Firstly, we can simply remove only the table formatting. But, we want to keep the data in a table. And this is different from converting the table into a range. Furthermore, the formatting that was applied to the data set before it was converted into an Excel will remain.
For instance, the data set already had borders, colored font format, and colored headers before converting into a table. So this will remain after removing the table formatting.
To learn how to remove only the table formatting, follow the step-by-step process below:
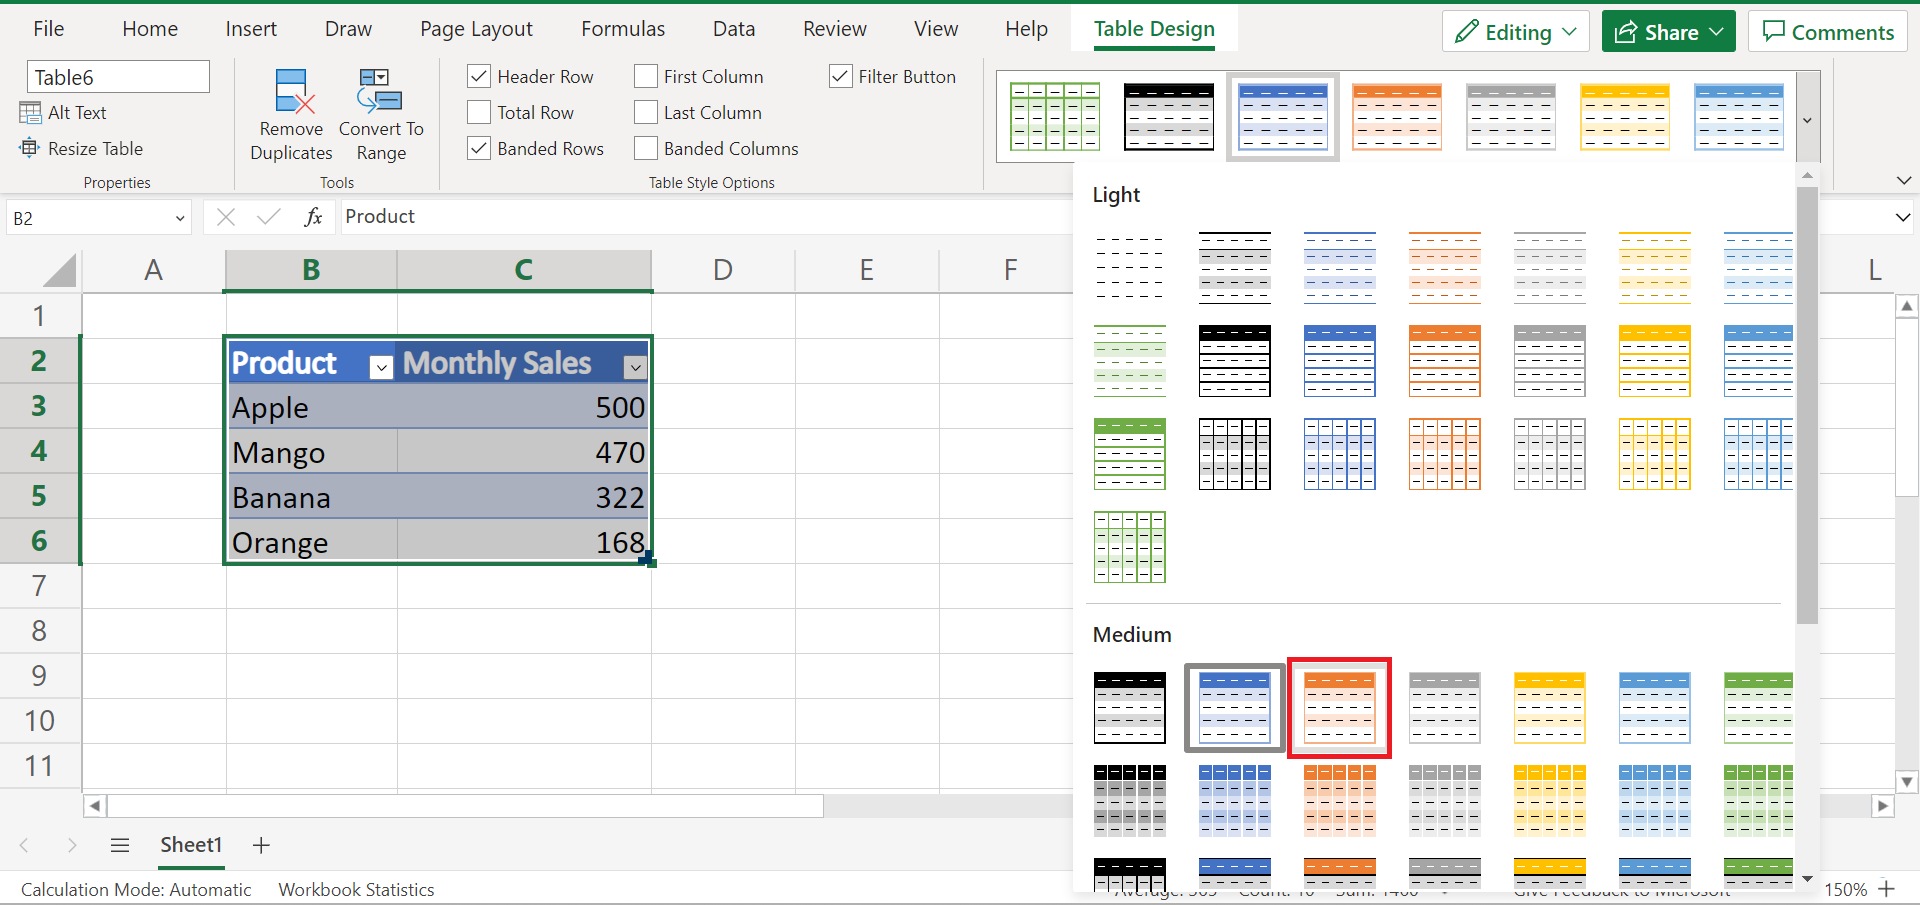
1. Firstly, we need to select any cell or the entire table. In this case, we will select the entire table. Then, we need to go to the Table Design tab. Next, we need to click the More icon located at the bottom of the scrollbar in the Table Styles.

2. In the dropdown menu, select the Clear option.

3. And tada! We have successfully removed the table formatting in Excel. But, we still kept it as a table.

Removing the Table Formatting and Converting into a Range
Secondly, we can easily remove the table formatting and convert it into a range. Since there will be times we want to work with the raw data, we can easily convert the table to a range and remove all the formatting it comes with.
In this case, simply follow the steps below to use this method:
1. Firstly, we need to select the table containing our data. Then, we will go to the Table Design tab. In this tab, click Convert to Range.
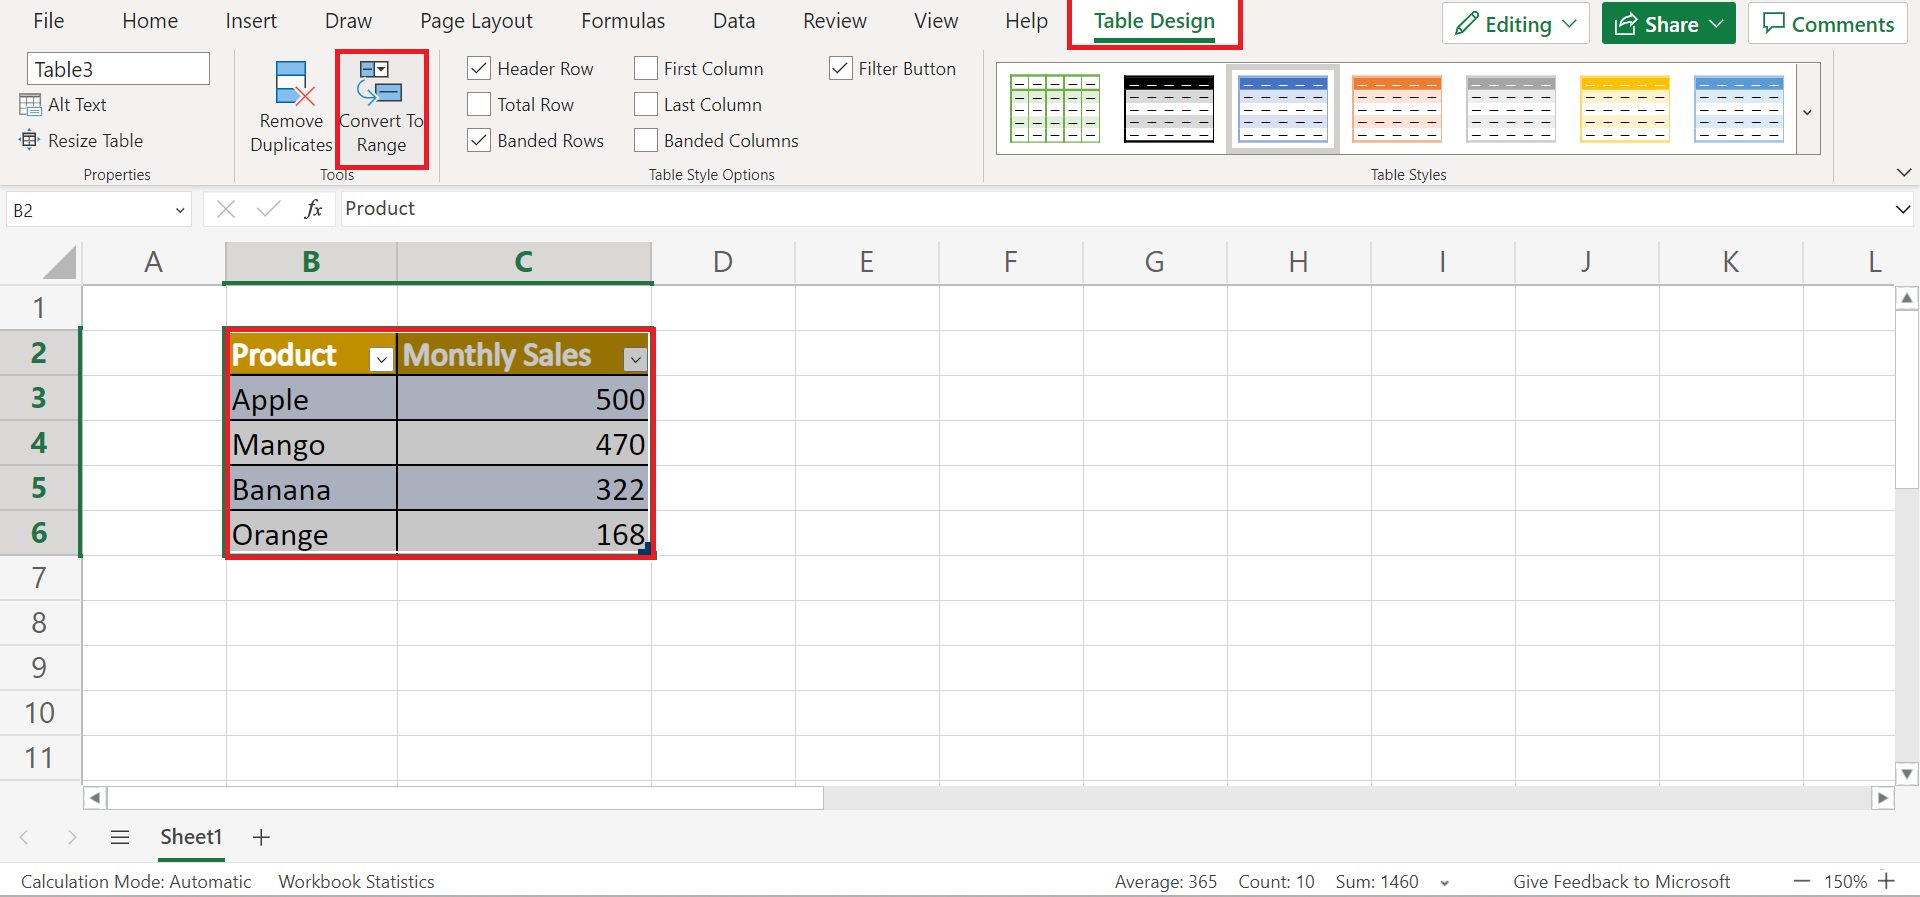
2. Otherwise, we can also right-click the table. Then, we can select Convert to Range in the dropdown menu.
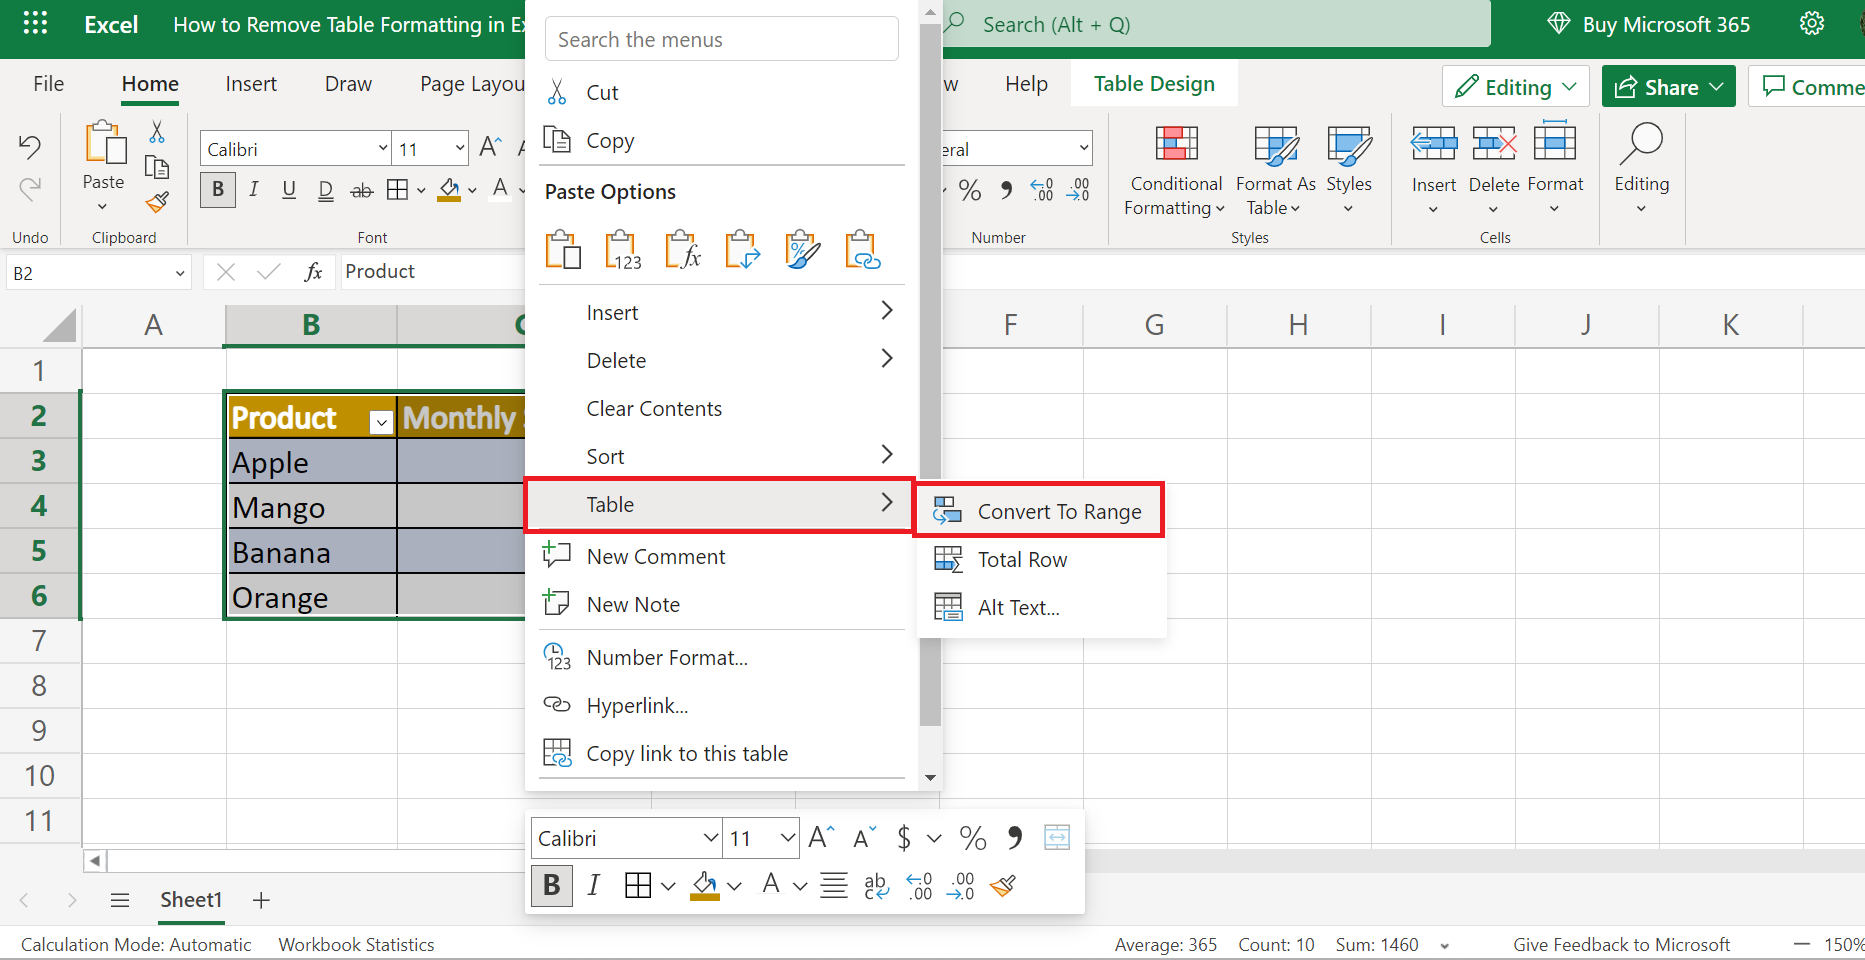
3. And tada! We have successfully removed the table formatting and converted it to a range.
Removing the Format of a Range
Thirdly, we can also remove the formatting of a range. When we convert a formatted table to a range, the formatting will remain. But, worry not! We can easily clear the format from the range.
To use this method, follow the step-by-step process below:
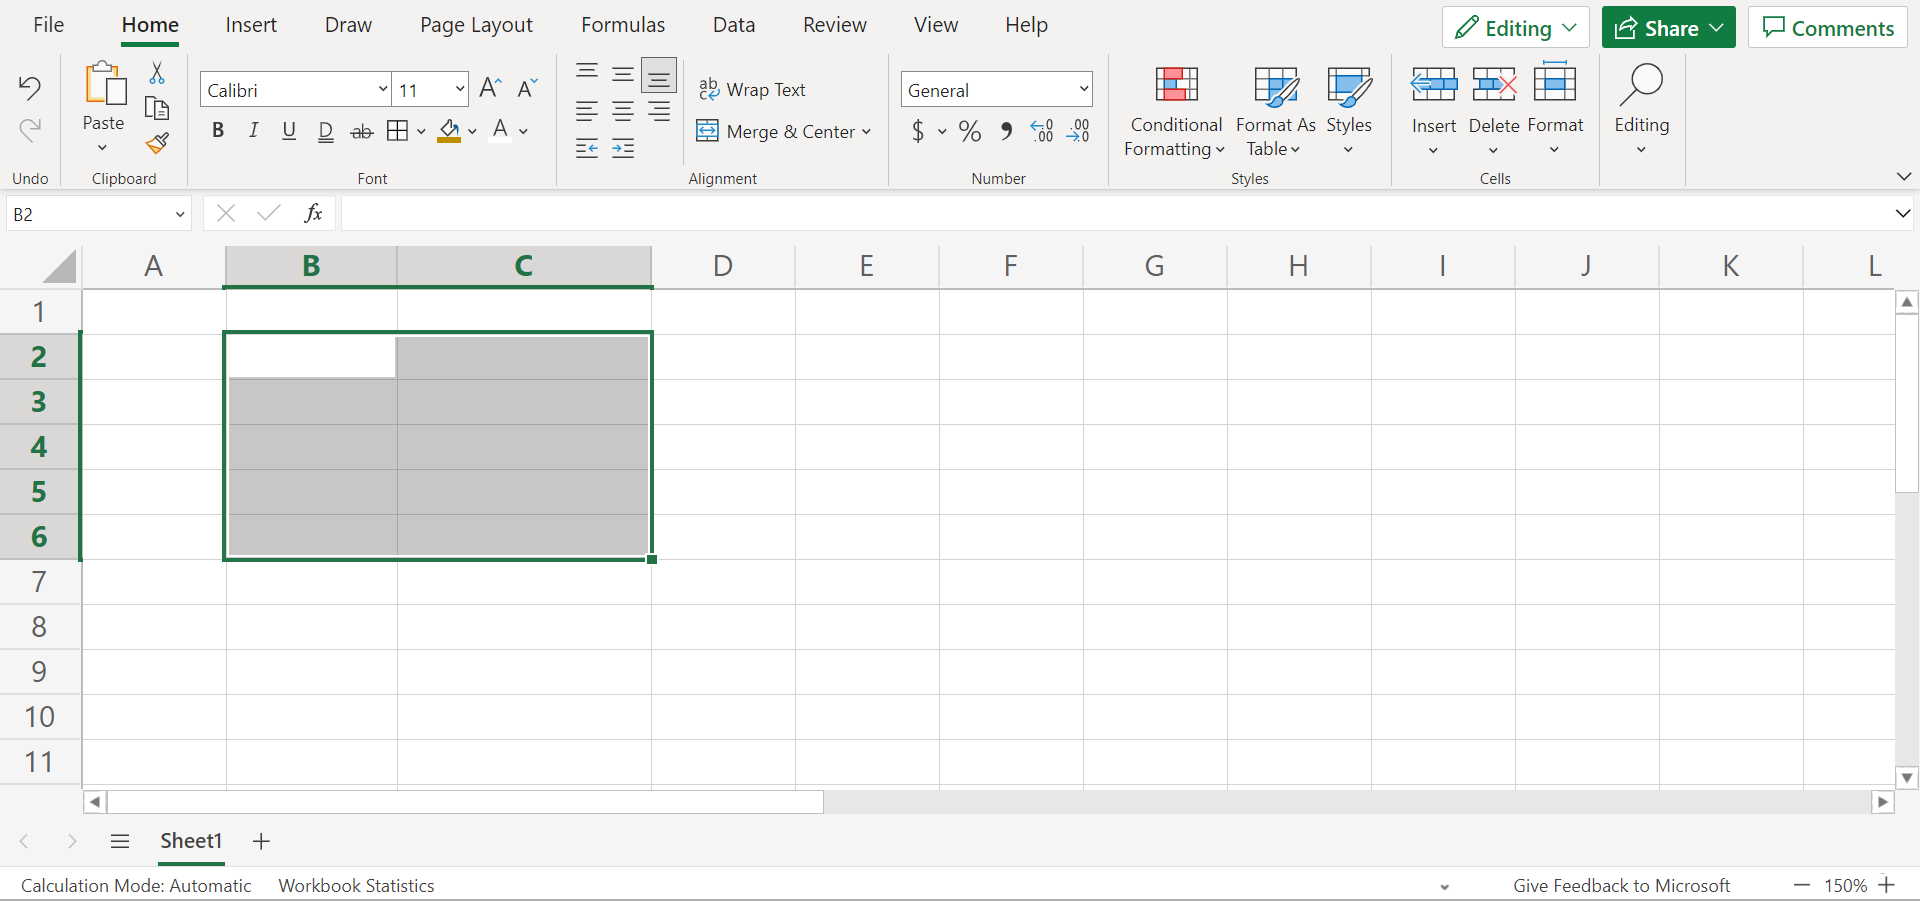
1. Firstly, we need to select the formatted range. Then, we will head to the Home tab. In the Editing section, we will select Clear. Lastly, we will click Clear Formats in the dropdown menu.
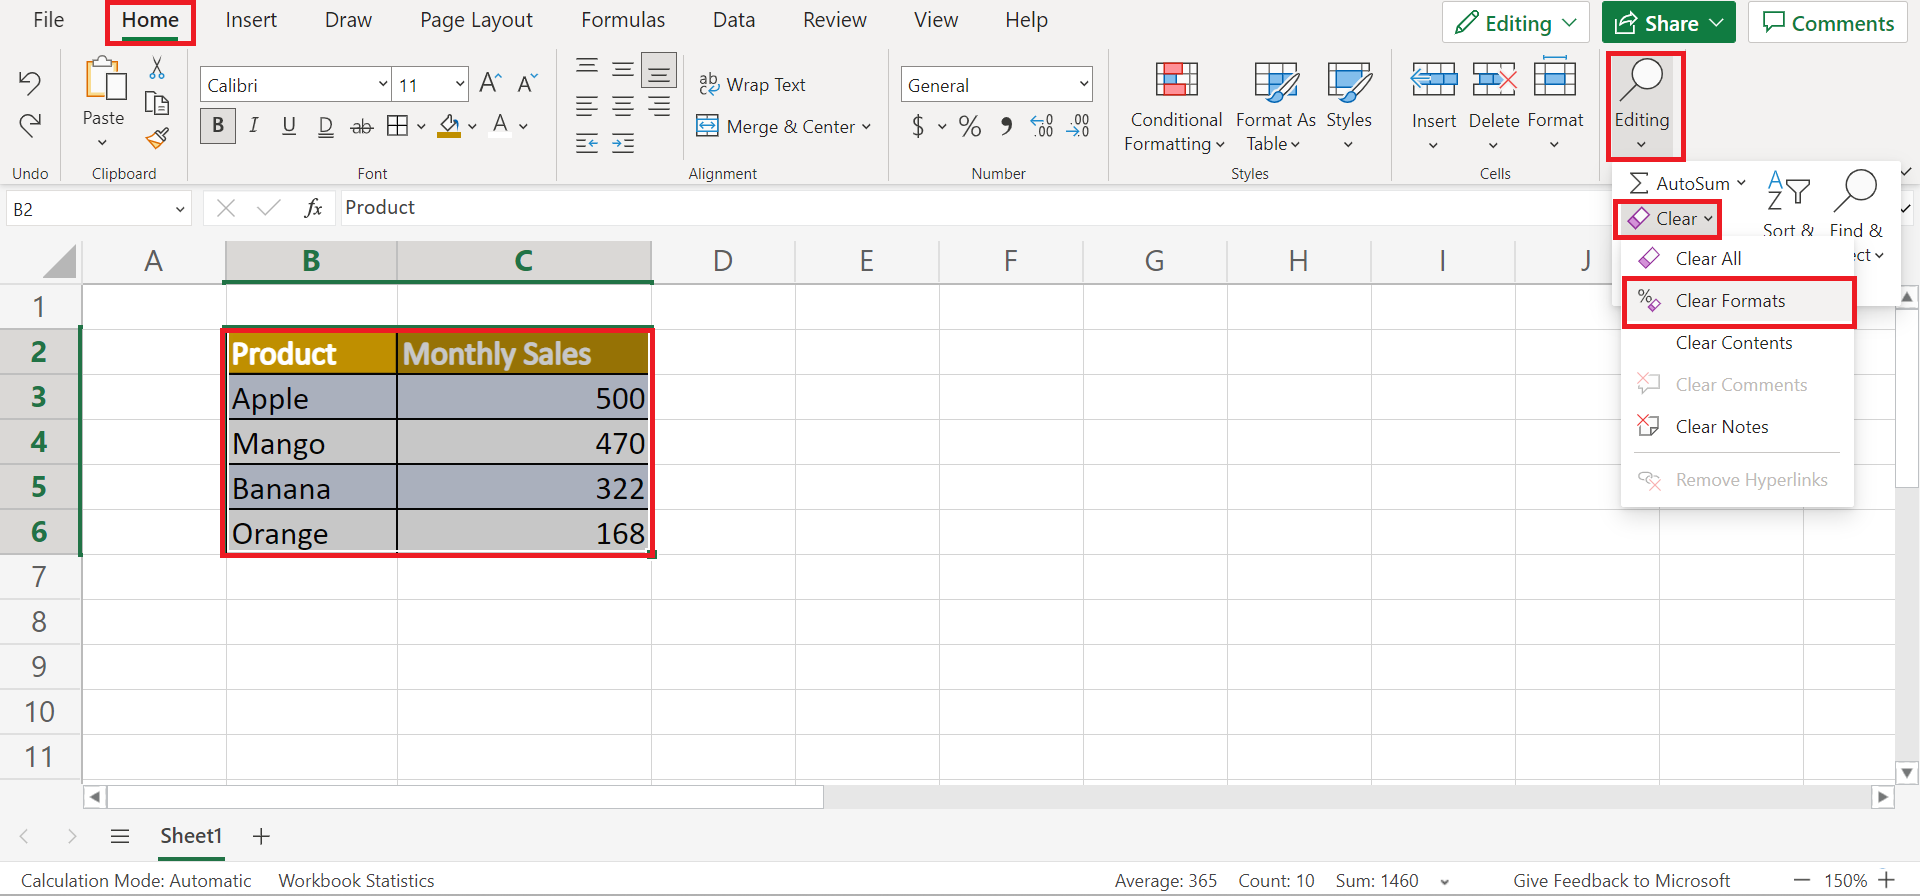
2. And tada! We have successfully removed all the formatting from the selected range.

Changing the Table Formatting in Excel
Let’s say we only want to change the formatting of the table rather than remove it. And this is not a difficult task to perform. So we can simply change the default formatting applied to our table by choosing or modifying a different present.
To change the table formatting in Excel, let’s follow the steps below:
1. Firstly, we need to select the table we want to change the formatting. Then, we will go to the Table Design tab. In the Table Styles section, we will click on the More icon located at the bottom of the small scrollbar.

2. Secondly, we can choose any from the existing designs. Furthermore, we can see a preview of any design when we hover our mouse cursor over the design.
Additionally, we can create our own format by selecting the New Table Styles.
3. And tada! We have successfully changed the table formatting in Excel.
Deleting the Table in Excel
Lastly, let’s also learn how to delete or completely remove a table in Excel. Since there will be times when we simply want to start over from the beginning, we can easily delete a table in Excel.
To learn how to delete a table in Excel, follow the step-by-step process below:
1. Firstly, we need to select the entire table. Then, we can right-click and select Delete. Lastly, we can decide how we want the worksheet to adjust. In this case, we will select Cells & Shift Left.

2. And tada! This method will delete the table and also any formatting the table has.

3. But, manually applied formatting does not get removed when deleting the table. To remove manually applied table formatting, first select the entire table. Then, we will go to the Home tab. In the Editing section, click on Clear. Lastly, click Clear All in the dropdown menu.

4. And tada! This time we have successfully deleted the table and cleared all the table formatting whether automatically or manually applied.
You can make your own copy of the spreadsheet above using the link attached below.
And that’s pretty much it! We have explained five easy and simple steps on how to remove table formatting in Excel. Furthermore, we discussed how to only remove the format and convert it to range, remove all table formatting, and even how to delete a table along with its manually applied table formatting.
Are you interested in learning more about what Excel can do? You can now use the various other Microsoft Excel formulas available to create great worksheets that work for you. Make sure to subscribe to our newsletter to be the first to know about the latest guides and tutorials from us.


