


This guide will discuss how to fix wrap text not showing all text in Excel using three easy and efficient solutions.
Table of Contents
Although Excel is often used for numbers and calculations, it is still common to encounter long texts. And these long texts do not necessarily fit the default size of the cells in Excel.
So wrap text is a common feature in Excel used in these situations. The wrap text feature in Excel will display the full text in a cell without the text overflowing to other cells.
When a text is too long for the default size of the cell in Excel, it will usually overflow to the columns to its right, or it will be cut off at the border of the cell.
So wrap text will fix that issue. Instead of overflowing or cutting the text off, wrapping the text will display the full text in that one cell by extending its border.
But sometimes, wrap text encounters some issue that will fail to do its function. After applying wrap text, the text is still not shown completely, or it is cut off at the border.
Let’s take a sample scenario where this issue may occur.
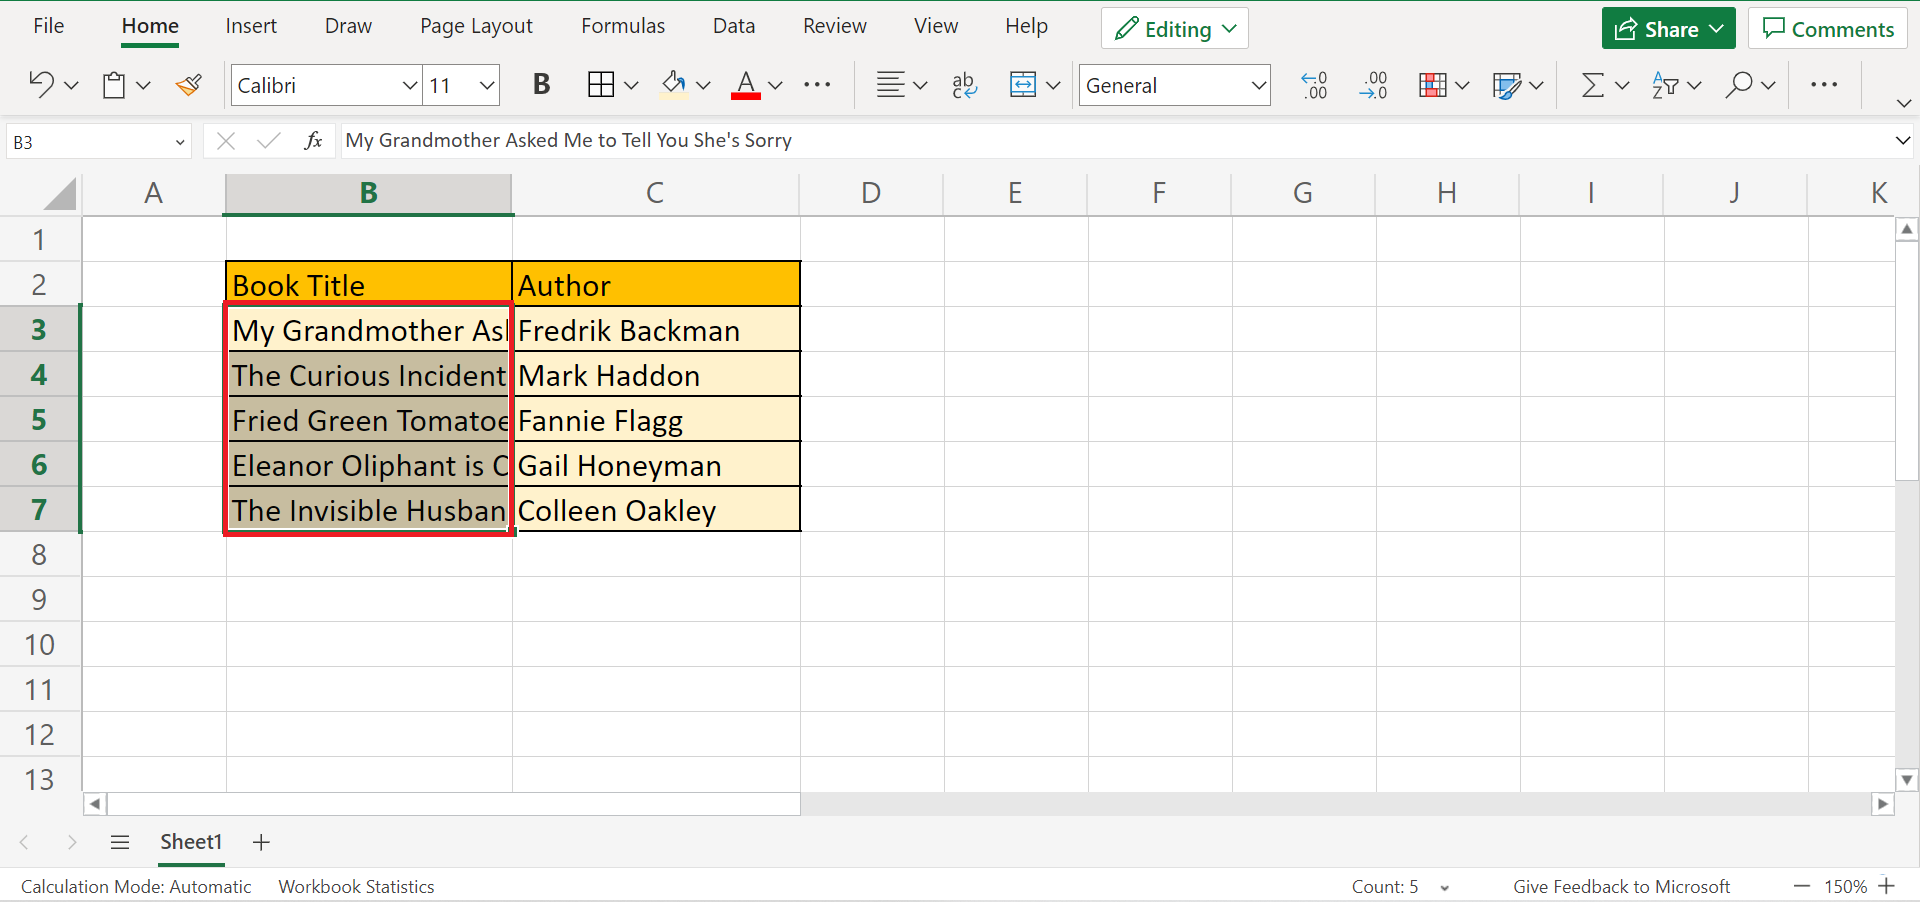
Suppose you are listing down all the books you have read this year. And some of the book titles are too long for the cell to fully display. So you intended to use wrap text to show the book titles fully.
But even after applying wrap text, the book titles are still cut off or not completely displayed in the cells.
However, worry not! There are easy and efficient ways to fix this issue so that we can completely show long texts in Excel. We will discuss three simple and efficient ways to fix this issue which you can apply whenever you encounter this problem.
Great! Let’s dive into the three simple and efficient ways of how to fix wrap text not showing all text in Excel!
Applying the AutoFit Row Height
Our first method to fix wrap text not showing all text in Excel is applying the auto-fit row height command in Excel.
So the auto-fit row height in Excel will adjust the cell height to ensure that all text will be fully displayed.
Now let’s move on to the step-by-step process of applying the auto fit row height command to fix wrap text, now showing all text in Excel.
1. Firstly, we need to select all the cells containing the long texts. In this case, we will select the range B3:B7.
2. Secondly, go to the Home tab. Then, click on the last three dots located at the end of the Home tab ribbon.

3. Thirdly, select Format. And click Auto Fit Row Height to apply to the selected cells.

4. And tada! We have successfully fixed wrap text not showing all text in Excel.

Unmerging the Merged Cells
Another possible reason why wrap text is not fully displaying all text in Excel could be because of merged cells. If your Excel contains merged cells, the auto-fit row height method won’t successfully fix the issue.
So we need to unmerge the merged cells first. Then, we can apply the auto-fit row height command.
Awesome! Let’s learn the process of our second method of how to fix wrap text, now showing all text in Excel.
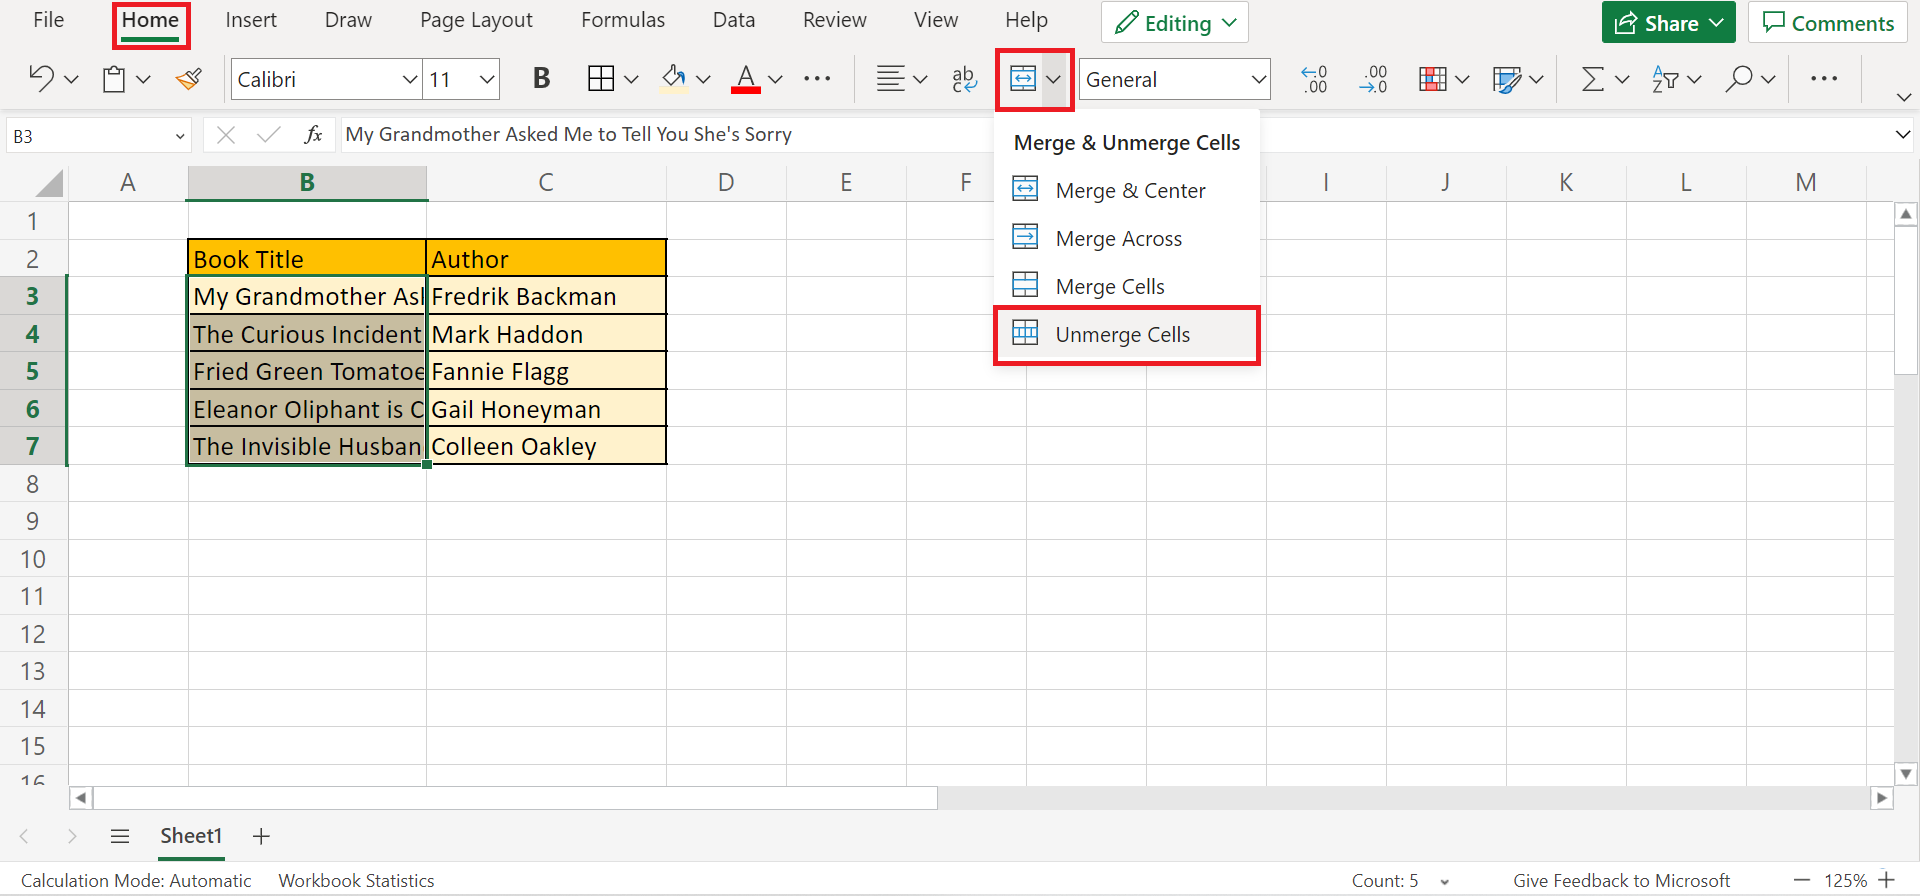
1. Firstly, we need to select all the cells containing text not fully displayed. In this case, we will select the range B3:B7.
2. Secondly, go to the Home tab. Then, select the Merge dropdown menu. Lastly, click Unmerge Cells.
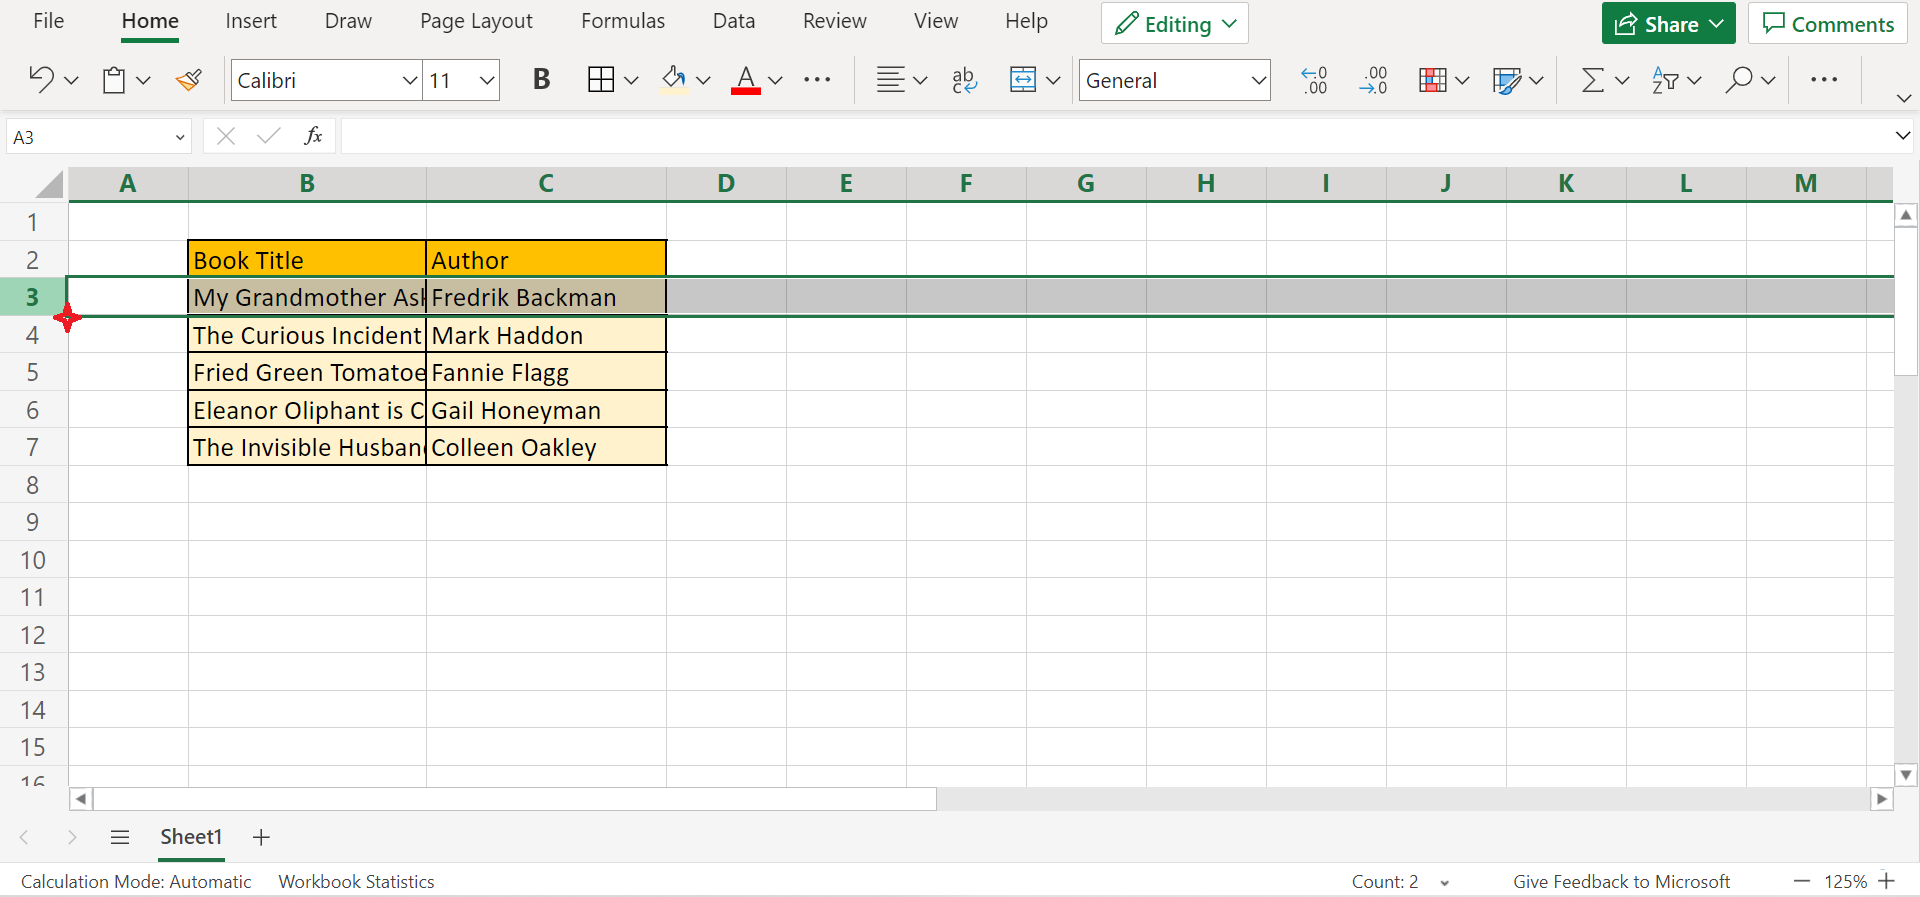
3. After unmerging cells, we can now apply auto-fit row height to fix the wrap text issue. So select all the cells again. Then, go to the Home tab and click on the last three dots in the ribbon. Next, select Format in the dropdown menu. Lastly, click Auto Fit Row Height.
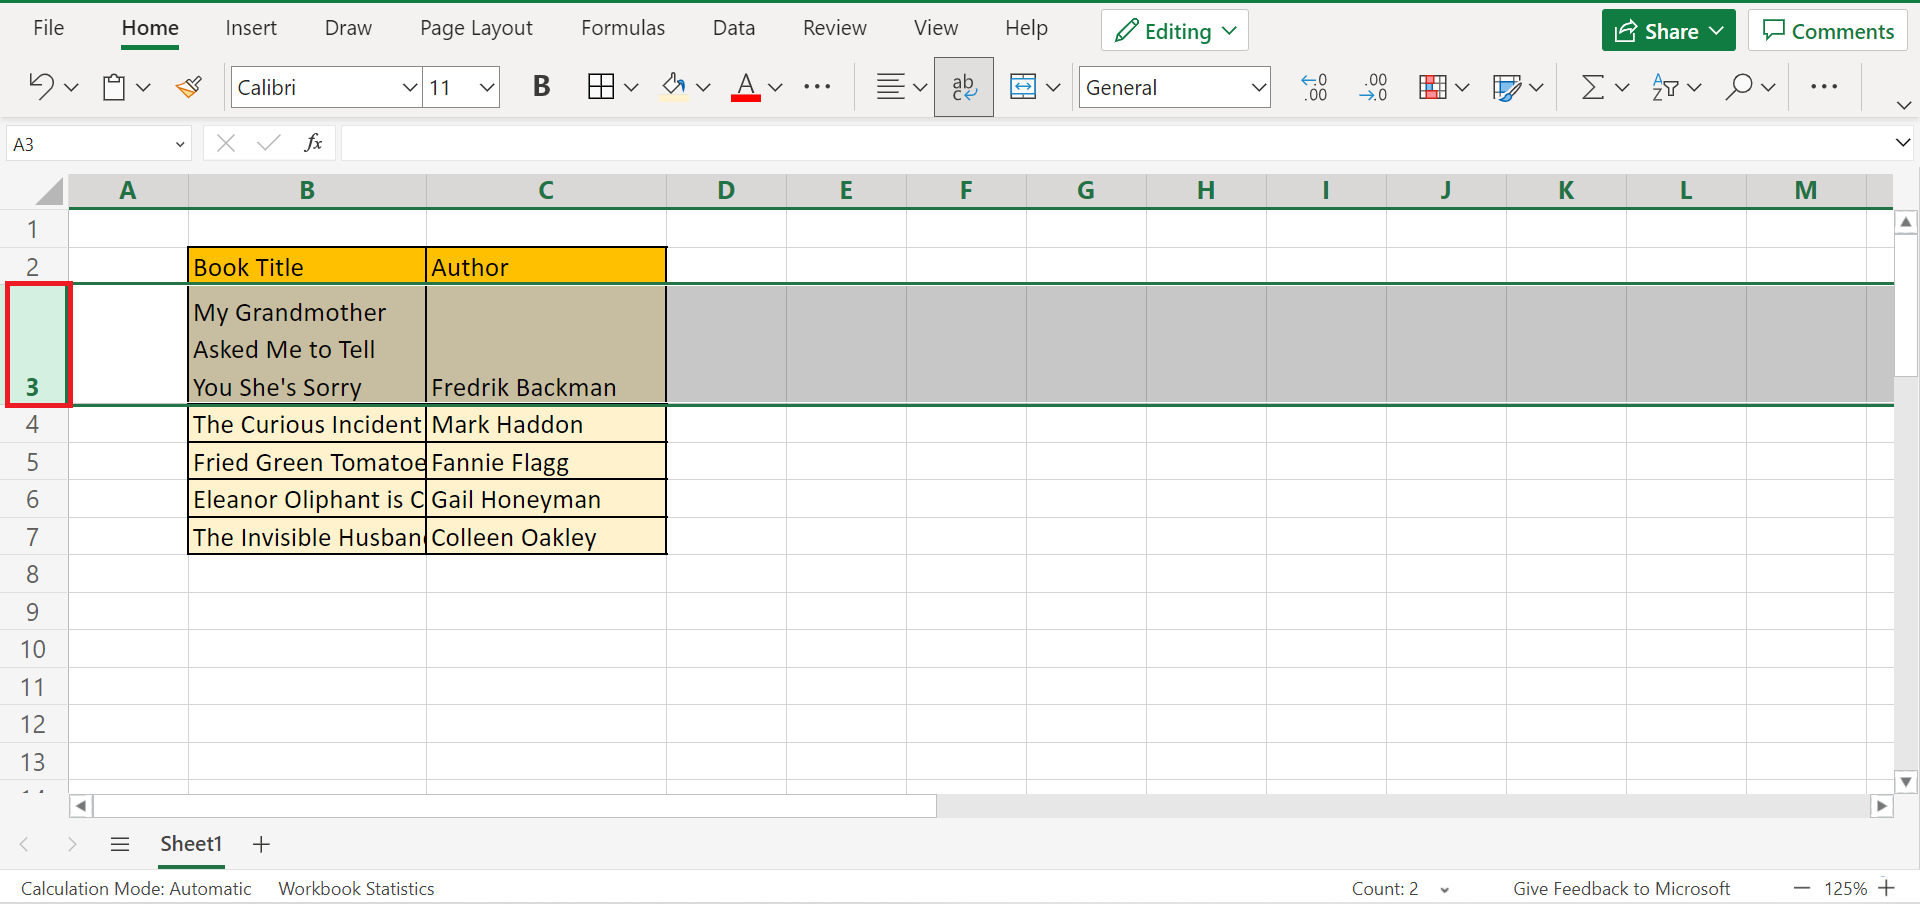
4. And tada! We have successfully fixed wrap text not showing all text in Excel using the second method.
Manually Resizing Cells to Fit Wrapped Text
Our last method and resort in fixing wrap text not showing all text are to resize the cells to fit the long text manually. If all else fails and the methods previously discussed are not working, this is the method you can use.
So we will be changing or resizing the cell widths manually. This is a pretty straightforward solution. Now let’s learn the steps in how to resize cell widths to fit wrap texts manually.
1. Firstly, position the mouse cursor at the border of the cell row if you are having issues displaying the full text.
2. Secondly, press and hold the mouse and drag the border downward until the text is fully displayed.
Lastly, repeat this process to all the cells having issues displaying all text in the cell.
3. And tada! We have fixed wrap text not showing all text in Excel by manually resizing the cell widths.
You can make your own copy of the spreadsheet above using the link attached below.
And that’s pretty much it! We have learned three easy and efficient ways to fix wrap text not showing all text in Excel. Now you can choose any of the three methods when encountering this type of issue.
Are you interested in learning more about what Excel can do? You can now use the various other Microsoft Excel formulas available to create great worksheets that work for you. Make sure to subscribe to our newsletter to be the first to know about the latest guides and tutorials from us.


