


In this article, we’ll learn how to wrap text in Google Sheets. We’ll see the ‘Wrap’ option within the ‘Text wrapping’ menu and see why it is useful.
Sometimes your spreadsheet might have long text such as addresses, URLs, or any descriptive text. However, a long text can sometimes overflow into the adjacent cell. This could be a problem when the adjacent cells already have some content.
Although, we can extend a column’s width to adjust its content. But sometimes we may need to wrap the text in its column. This may be for improving the aesthetics or readability of our spreadsheet.
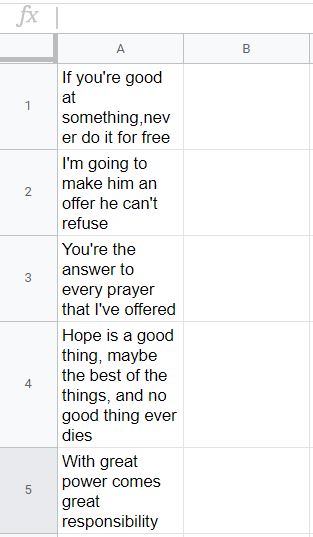
We have a similar spreadsheet titled ‘Famous Dialogues’. We have some famous movie dialogues in it. However, these dialogues are long enough to be accommodated in a single cell. It thus overflows to its adjacent cells.

We need to wrap it in its own column. That’s why we’re writing out this tutorial to explain how we can solve this.
So how do we go about this problem?
We’ll learn about the ‘Wrap’ option in Google Sheets. The ‘Wrap’ option is exactly what we’re looking for. We’ll also see a nice little shortcut to it so that the user can conveniently use this option. Let’s move on towards the tutorials without any delay.
How to Wrap Text in Google Sheets
Long texts can overflow the width of a cell, and we’ve already seen that with the ‘Famous Dialogues’ spreadsheet. It’s time to actually apply the Wrap option to get our text wrapped in its column.
- Select the range of cells to apply wrap on. It is A1:A5 in our spreadsheet.

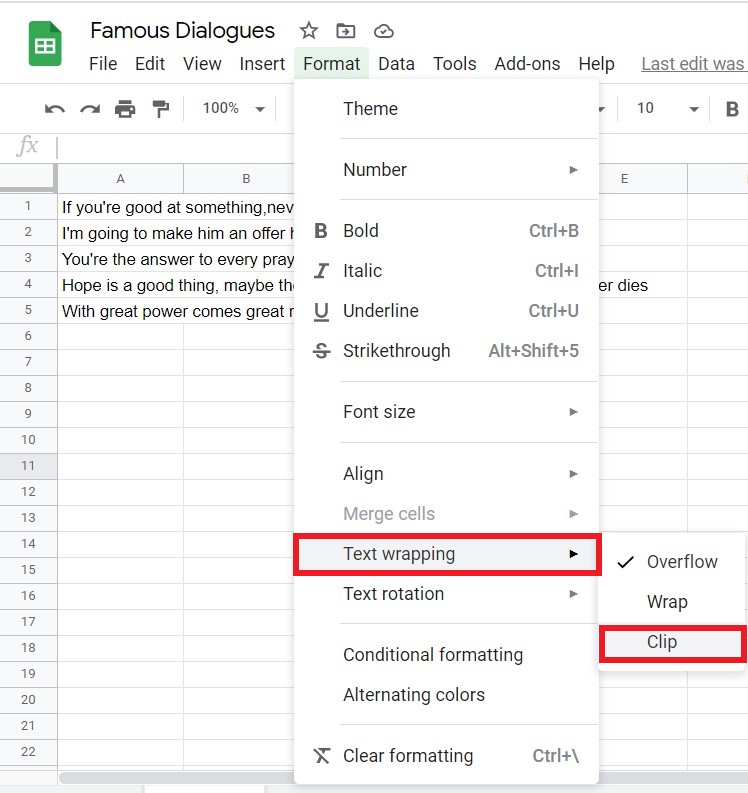
- In the top menu, navigate to Format.
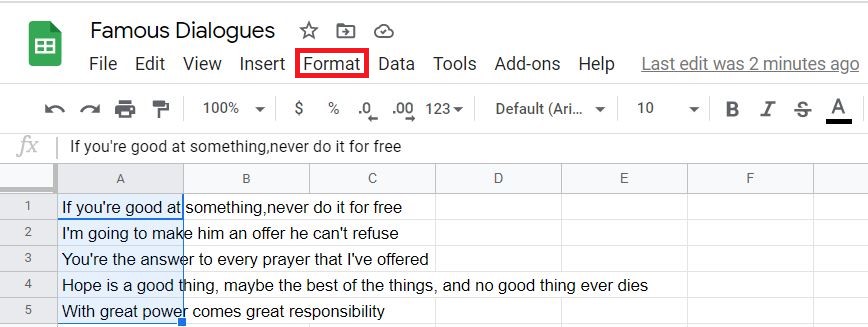
- In the Format drop-down, navigate to Text wrapping.

- In the Text wrapping drop-down, click on the Wrap option.

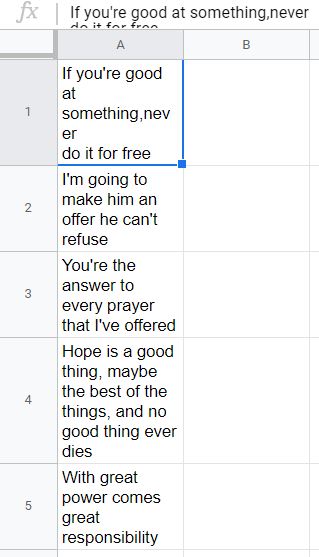
- The Google Sheets then wraps the text for you. That’s it. It is in fact a very simple process.
It seems Google Sheets has done pretty well. However, you might notice in cell A1 that it breaks the word ‘never’ and starts a new line. Unfortunately, this is an issue with wrapping the text through Google Sheets’ ‘Wrap’ option.
A simple fix for this would be to manually introduce the line break. Let’s make that fix.
How to Wrap Text Manually in Google Sheets
So, as we have seen that Google Sheets conveniently wraps long texts for us. However, in cell A1 it breaks the word ‘never’. It could be a problem because it affects the readability of the sentence.
This is a limitation of the ‘Wrap’ option, as it doesn’t know if it introduces a line-break in the correct place. Nevertheless, we can fix it manually. This is how it is done.
- Select cell A1.
- Now, click the F2 button to switch to edit mode.

- After that, move your pointer before the word ‘never’ by clicking just before it. Then press the Alt key followed by the Enter key.
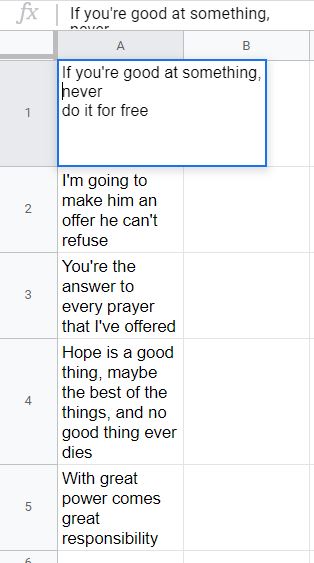
- Looks good. You’ve made the fix. 🙂

This is how you can manually wrap text in Google Sheets. However, most of the time you’ll be using the ‘Wrap’ option. Therefore, Google Sheets has a shortcut for it to make it more accessible to users. Let’s see the shortcut to the ‘Wrap’ option.
A Simple Shortcut to Wrap Text in Google Sheets
The ‘Wrap’ text feature is something you might use often. Therefore, we have a shortcut for it. Now, instead of navigating to the Format > Text Wrapping > Wrap, all you need to do is to select the range of cells and apply the shortcut.
You can find the shortcut in Google Sheets’ toolbar.

The ‘Clip’ Option in Google Sheets
You might have noticed the clip option in Google Sheets. It is different from ‘Wrap’ but quite useful. We can use it for clipping text. Why would we need to clip a text? Think of URLs. URLs can be lengthy, and users rarely need to see a full URL.
So whenever you’ve URLs in your spreadsheet, you will go for the Clip option rather than Wrap. You can check it out for yourself. Simply follow the same steps as we did in the case of Wrap. All you need is to select Clip instead of Wrap.
That should be all you need. We hope you’ve learned how to wrap text in Google Sheets. Check out our other numerous Google Sheets formulas to create even more complex and useful functions in Google Sheets.


