Deleting all empty rows and columns in a Google Sheets spreadsheet allows you to tidy up your dataset.
Table of Contents
At times, you’ll find it necessary to clean up your spreadsheet. A good way to start it is to delete all the empty rows and columns between records. Usually, you can also select all the records you want to delete and call on the command in the right-click context menu. This would not be ideal for spreadsheets that contain hundreds of records.
In this guide, we’ll show you possible workarounds for this scenario. We will also demonstrate different ways on how to delete all empty rows and columns in a spreadsheet.
Let’s get started!
Filter and Delete All Empty Rows in Google Sheets
One efficient way to delete all empty rows in a spreadsheet is to filter out these rows first. After that, you can already select and delete them easily.
Let’s try out a simple activity to see how it works. First, make sure to click the link below to have a copy of our example dataset.
Filter All Empty Rows
The first thing you need to do is to filter out all the empty rows. Doing so will let you display only the rows that you need to delete.
Here are the steps on how to do it:
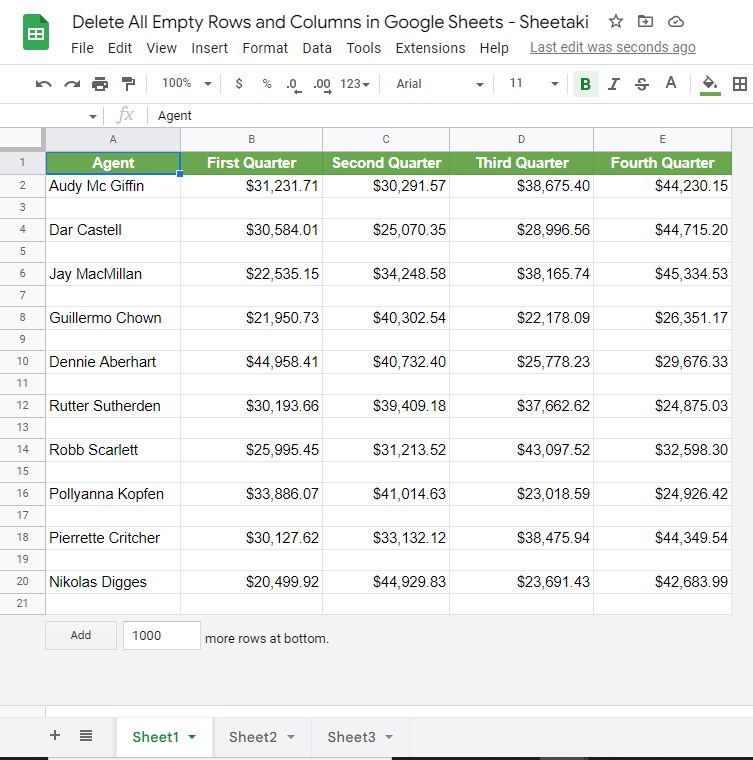
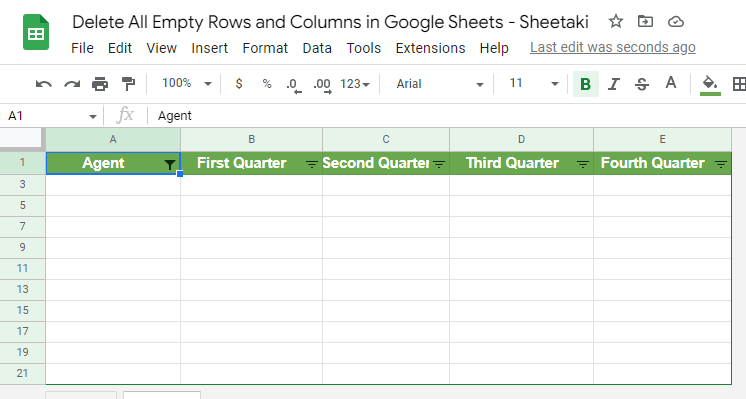
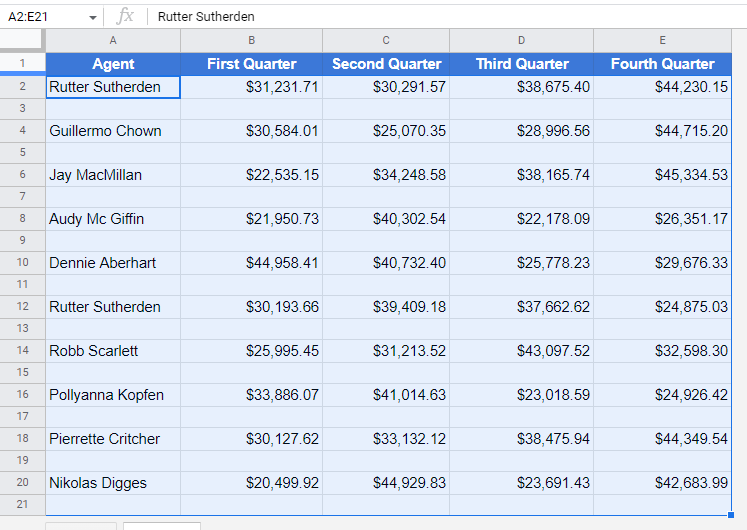
- With the spreadsheet open, make sure that Sheet1 is the active sheet by clicking its name. You should have this dataset:
- The next step you need to do is to select the entire dataset. There are several ways to do this; the easiest is to press CTRL + A on your keyboard.

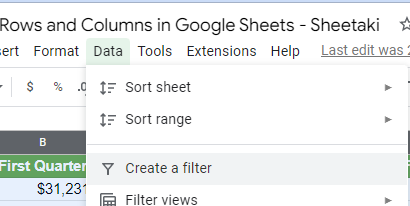
- At this point, you can already create a filter for the whole dataset. To do so, click on the Data menu and choose to Create a filter.
Upon clicking, you’ll see that funnel-shaped symbols will appear at the headers of your dataset. These symbols indicate that you have successfully created a filter.

- Now that the dataset has a filter, we can now filter out all the empty rows within the spreadsheet. Click on the filter symbol in any of the headers. Doing so will display a drop-down menu similar to this one:

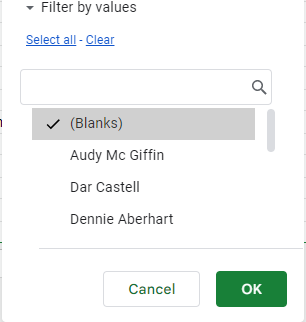
- By default, you can see that all the fields under the filter are selected. This means that Google Sheets is configured to show all the fields in the dataset. Let’s clear all the selections by clicking the Clear button on the drop-down menu.

- After that, click (Blanks) on the filter list. This will check only the empty rows in the dataset.
- Next, click the OK button to apply your changes. All the empty rows should now be filtered and displayed on your spreadsheet.
Delete All Empty Rows
With the empty rows only displayed, you can now quickly delete them. Here’s how to do it:
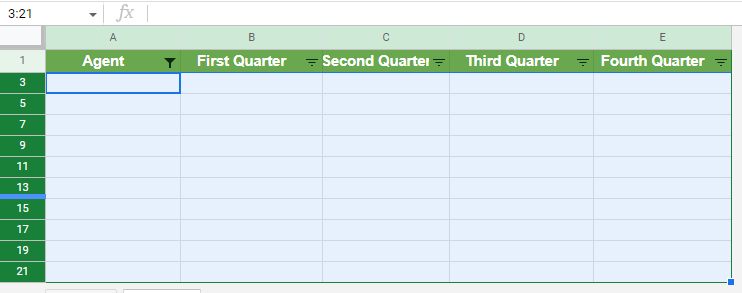
- First, you’ll need to highlight all the filtered rows. You can do this by clicking the header of the first empty row and dragging it toward the end of the dataset. In the example below, rows 3:21 is highlighted.
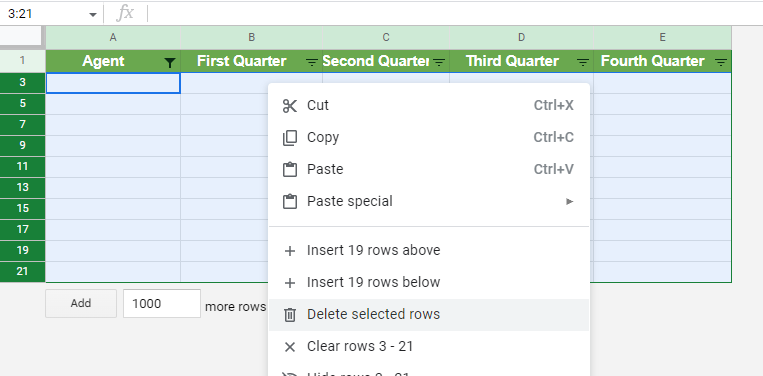
- This time, delete the selected rows by right-clicking anywhere within the highlighted portion and selecting the Delete selected rows command.
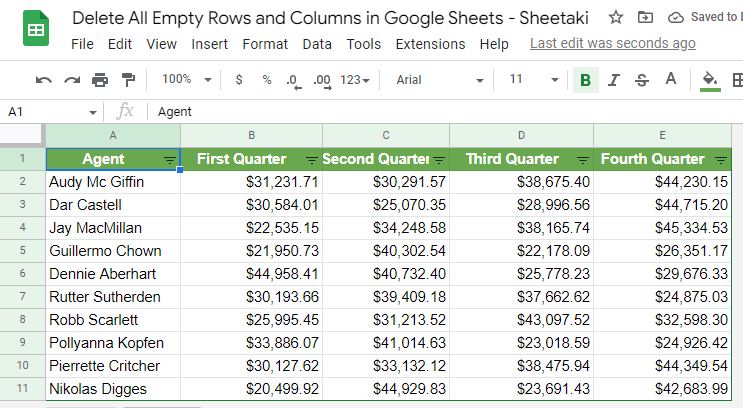
Upon deleting, your spreadsheet should now contain only the headers of your dataset.

- Now, use the filter tool again to show all the records of your dataset.

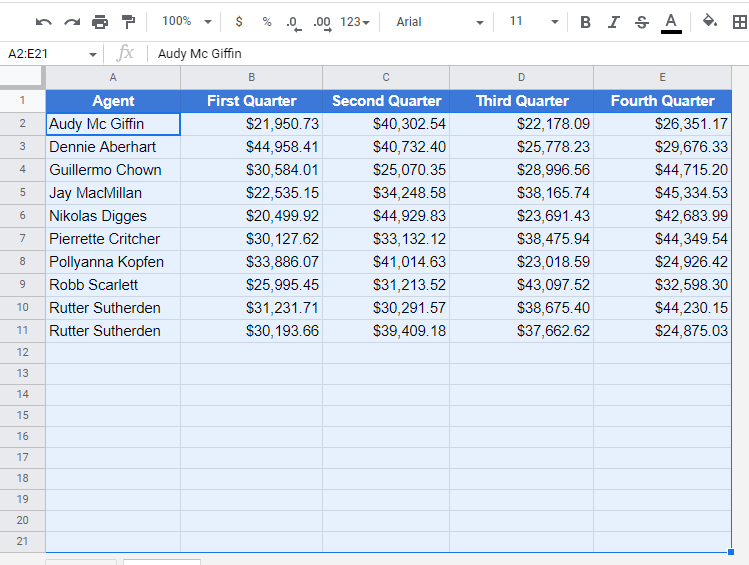
If you’ve performed all steps correctly, your spreadsheet should now look like this:
- Once you’ve filtered out and deleted all the empty rows, you can now remove the filter tool. To do this, click the Data menu, and then choose Remove filter.

Great! You just learned how to filter and delete all empty rows in a Google Sheets spreadsheet.
Sort the Dataset and Delete Empty Rows
It is possible to quickly delete all empty rows by sorting your data first. This will arrange all your records in ascending or descending order, sorting all empty records together. This way, you can easily highlight the empty rows and perform the delete command.
Let’s try out another activity to demonstrate this technique.
- Open the spreadsheet you used earlier and make Sheet2 the active sheet. You should have this dataset:

- Next, highlight the entire dataset, excluding the headers. Be guided by the example below.
- After that, click on the Data menu, and then move your mouse pointer over the Sort range option. Google Sheets will provide you with additional options to choose from at this point. From the list, click the option that says Sort range by column A (A to Z).

- Upon clicking, Google Sheets will automatically sort your dataset in ascending order. You’ll notice that all the empty rows will be placed at the bottom of the dataset.
- Since all the empty rows have already been grouped together, you can easily highlight them all and delete them at once, as we did earlier.

And that’s another way of deleting all empty rows in a spreadsheet! This technique is best used when you also need to sort your dataset.
Delete All Empty Columns in Google Sheets
Unfortunately, the filter and sort techniques are not applicable if you want to delete all empty columns in your spreadsheet. But don’t worry, there’s a solution to this problem.
You can use Google Apps Script to delete your dataset’s empty columns.
Here’s how to do it:
- First, open the Clean sheet Apps Script project by clicking the link below.
- Once you’ve clicked the link, you’ll be redirected to the Apps Script interface, which contains the codes of the Clean sheet project by Google.

- Next, click the Overview icon on top of the interface, as shown below.

- Copy the project by clicking the Make a copy button on the interface’s upper right corner.

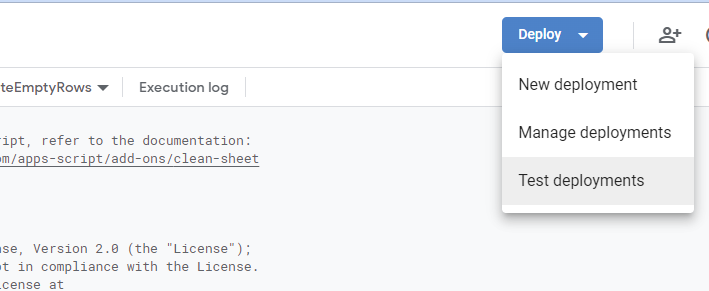
- At this point, you should now have a copy of the Clean sheet project. On top of the copied project, click Deploy, and then select Test deployments.
The Test deployments panel should appear on your screen at this point.

- This time, click the gear icon beside the Select type label and choose Editor Add-on.

- Afterward, click the Create new test option, and then click the Test document field to browse for the spreadsheet where you want to deploy the project.

- Locate the spreadsheet containing the empty columns you wish to delete, then click Insert. In the example below, a spreadsheet named ‘Delete All Empty Rows and Columns in Google Sheets – Sheetaki’ is selected.

- After locating the spreadsheet, click the Save test button.
- Now, open the spreadsheet by selecting it from the list and then click Execute.

- To run the Clean sheet Apps Script project on the spreadsheet, highlight the entire dataset and then click the Extensions tab. After which, move your mouse pointer over the option that says ‘Copy of Clean sheet’.
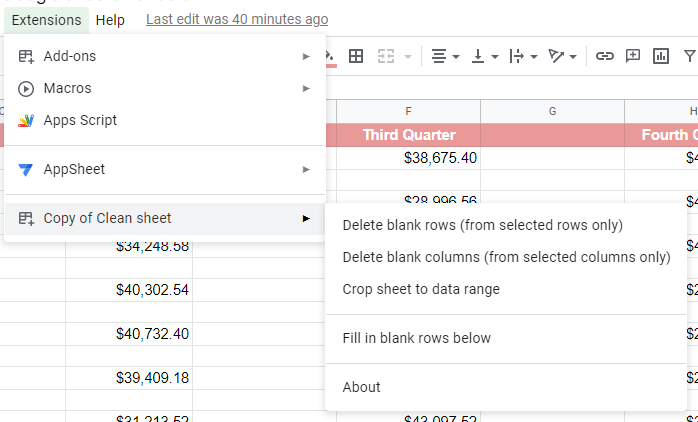
- Finally, delete all the empty columns by clicking the Delete blank columns option.

Perfect! Now you know how to use Google’s Apps Script to delete all the empty columns in your spreadsheet.
There you have it. We just demonstrated three different techniques you can use for deleting all empty rows and columns in Google Sheets.
If you are interested in learning more about spreadsheets, check out our other Google Sheets articles.
Stay up-to-date with other essentials in Google Sheets by subscribing to our newsletter.