


The label clause in Google Sheets is useful when you need to set labels or remove existing labels for one or more columns in a QUERY formula.
You can set labels to any column in the given data range and any output of aggregation functions and arithmetic operators.
Let’s take a look at a quick example of where this clause might be useful in a query.
To prepare for a monthly report, you’ve used the QUERY function to aggregate and filter a large dataset in Google Sheets. The data itself is valid, but the column names are not very descriptive, mainly since the raw data includes vague column names such as employee_id_x, cust_shop_id, or grass_date.
Fortunately, the Google Visualization API Query Language includes adding new column names using the label clause. We can use this clause to rename one or more columns or even set new labels for aggregate functions such as sum or max.
This guide will show you how to use the label clause in Google Sheets and show you real examples of it in use.
A Real Example of Using Label Clause in a Query
Let’s look at a real example of the label clause being used in a Google Sheets spreadsheet.
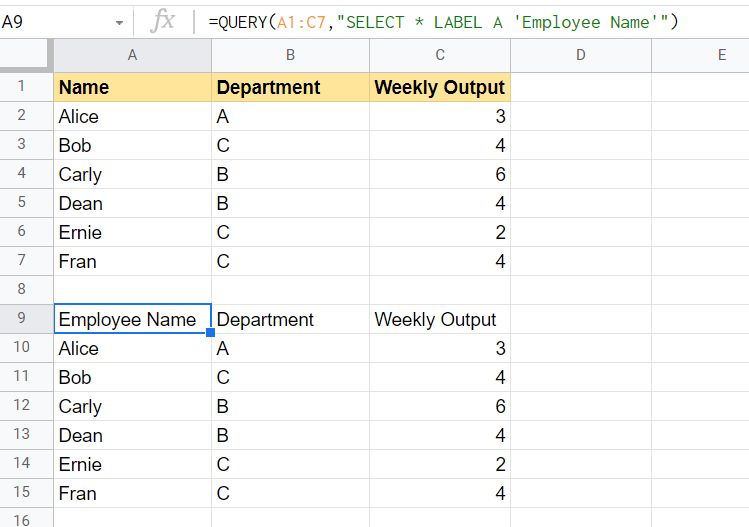
In the example below, we have employee data consisting of the employee’s name, department, and their average weekly output. The second table is a filtered dataset consisting of employees in Department B.

This was accomplished using the QUERY function. In addition to filtering, we also added a new label to column A. Observe how the column labeled Name is now labeled “Employee Name”.
To get the values in the query output, we just need to use the following formula:
=QUERY(A1:C7,"SELECT * where B = 'B' label A 'Employee Name'")
In the formula above, the label clause consists of the following three parts: “label”, “A”, and “Employee Name”.
The syntax for a single label clause is as follows:
label column_id label_string
If using a range like A1:J10, the column_id refers to the actual letter of the column, such as A or B. The label_string refers to the label you want to assign to the specified column_id
We can also add multiple labels in our label clause. In the example below, we changed each of the column names in the original dataset.

To get the values in the query output, we just need to use the following formula:
=QUERY(A1:C7,"SELECT * where B = 'B' label A 'Employee Name', B 'Dept. Name', C 'Output'")
When adding multiple labels, we only need to indicate the clause name once. Each successive pair is separated by a comma.
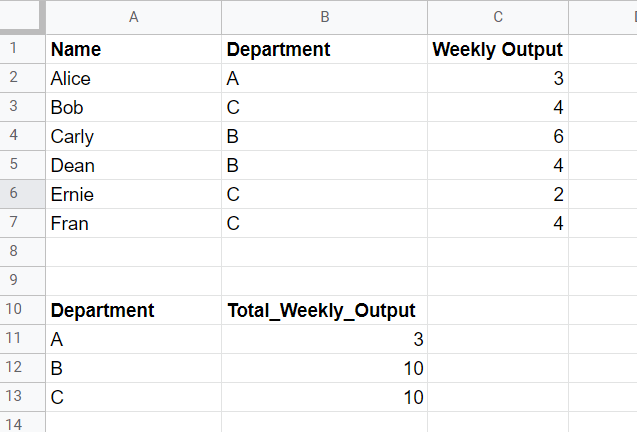
In this final example, we’ll show you how simple it is to use the label clause to name the output of aggregate values.
Below, you can see that we used a sum aggregation function in our query and grouped it by department. We used the label clause to name our sum “Total_Weekly_Output”. If we did not label it, it would just say “sum Weekly Output” which is less clear to the user.
You can make your own copy of the spreadsheet above using the link attached below.
If you want to try out using the label clause yourself when using the QUERY function, read the following section to learn how to write it step-by-step!
How to Use Label Clause in Google Sheets Queries
In this section, we will go through the steps needed to add a limit clause in a Google Sheets query. This guide will show you how we renamed columns and aggregate functions like sum in previous examples.
Follow these steps to start using the label clause:
- First, select the cell where we will add our
QUERYfunction. Make sure that there is ample space below and to the right of this cell.
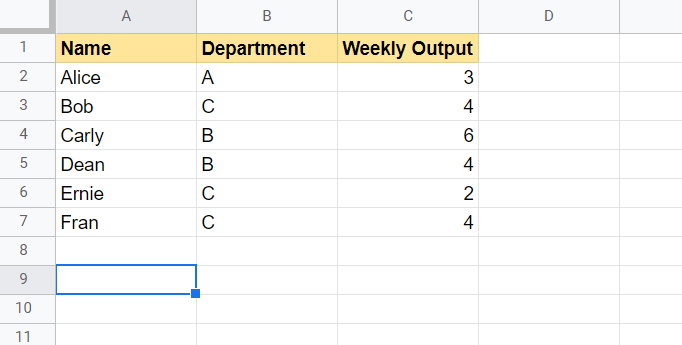
- Next, we simply type the equal sign ‘=‘ to begin the function, followed by ‘QUERY(‘.
- You may find a tooltip box with hints on how we can use the
QUERYfunction. Click on the arrow in the top-right-hand corner of the box to minimize if necessary.

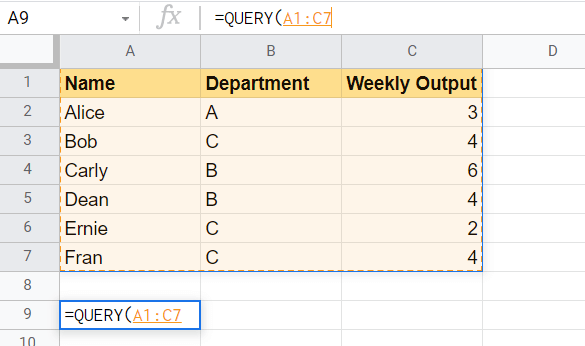
- The next step is to start typing our arguments. For our first argument, we’ll type in our data source. In this example, we’ll be using the range A1:C7.
- Next, we’ll type in our query text. For this step, we’ll simply add a query that selects everything in the dataset but changes the column Name into Employee Name.
- If you need to change multiple labels, simply add a comma after each pair of column ids and label strings.

Frequently Asked Questions (FAQ)
- Can I use the Label Clause to Modify a Pivot Header?
Yes. We can wrap the query formula with another query formula that uses the label clause. - Where do I place my label clause?
The Google Sheets Query language follows a specific clause order. You must write the clauses in the following order:SELECT,WHERE,GROUP BY,PIVOT,ORDER BY,LIMIT,OFFSET,LABEL,FORMAT.
Usually, you can add the label clause after all other clauses, except for the format clause.
This step-by-step guide shows how easy it is to rename columns in the output of your QUERY function.
The QUERY function is just one example of a powerful and versatile function you can use in Google Sheets. With so many other Google Sheets functions out there, you can indeed find one that significantly improves your workflow.
Are you interested in learning more about what Google Sheets can do? Subscribe to our Google Sheets newsletter to be the first to know about the latest guides and tutorials from us.


1 comment
Can you give an example of this part: “Can I use the Label Clause to Modify a Pivot Header?
Yes. We can wrap the query formula with another query formula that uses the label clause.” How do we wrap a query with a query to label it with a header?