


Learning ways to protect your Google Sheet data is useful, especially when you work in a coworking environment and Google Sheets are shared among several individuals.
The ability to share and collaborate on a spreadsheet in Google Sheets is a valuable feature, but it may necessitate a closer look at how to safeguard your data from unauthorized alterations.
There are three main ways to protect your data in Google Sheets:
- Protect sheet tool
- Notification rules tool
- Data validation tool
Let us move on to some examples to visualize these tools better!
Table of Contents
1. Using Protect Sheet Tool to Protect Your Google Sheet Data
The protect sheet tool offers several options. You can either protect a range of cells that restricts people from updating them or even protect an entire tab.

Besides, the tool also has an option to show a warning sign pop-up if a person tries to update the protected range of cells.

Example 1
If you would like to only protect a range of cells in your spreadsheet, here is how to!
- First, we would select the range of cells to protect. In this example, it would be B5:C9.

- Then, click on Tools and click Protect sheet.

- A pop-up would appear on the right side of your screen. We then select Range and enter the sheet name and the range of cells. In this example, it is ‘HistoryPaper’!B5:C9. Don’t forget to name your protected cells, as you may lose track of them when more cells are protected.

- Once we have clicked Set permissions, another pop-up would appear. We would select Restrict who can edit this range. Hence, you can now restrict the access to edit to only yourself or with other authorized individuals.

- Once we click Done, the sidebar would populate the protected cells.

Example 2
The protect sheet tool can also protect an entire spreadsheet from unwanted updates, instead of a range of cells.
- Instead of selecting Range, we would now select Sheet instead.

- Once we have set the permissions to who gets access to edit this tab, a “locker” symbol would be next to the tab name.
![]()
Example 3
The protect sheet tool also offers an option to create a warning sign when people try to edit certain cells or spreadsheets.
- After clicking Set permissions, in the Range editing permissions pop-up, select Show a warning when editing this range instead.

- This would give those who want to edit the sheets or cells a warning.
2. Using Notification Rule Tool to Protect Your Google Sheet Data
The notification rule tool can help notify you when someone makes changes to your spreadsheets. This is a great tool to know exactly who and what has changed in your spreadsheet.
Example 1
- First, click on Tools and click Notification rules.
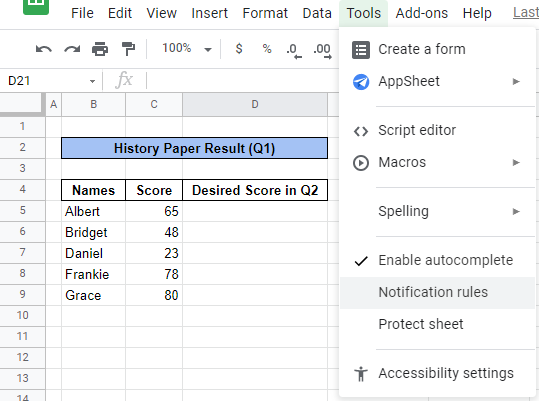
- A pop-up would appear to set when to notify as well as the frequency of notifications. In our case, since we would like to know when changes are made to our spreadsheet, we would select Any changes are made and Email-right away.

- Once someone has made changes on your spreadsheet, you would receive an email notification on those changes.

3. Using Data Validation Tool to Protect Your Google Sheet Data
In Google Sheets, data validation allows you to establish certain parameters around numbers, dates, and text to prevent input errors.
As an example, let’s pretend you want your students to enter desired exam grades for the next semester. You might wish to add a data validation parameter that requires all numbers to be between 0 and 100.
Example 1
- First, click Data then select Data validation.

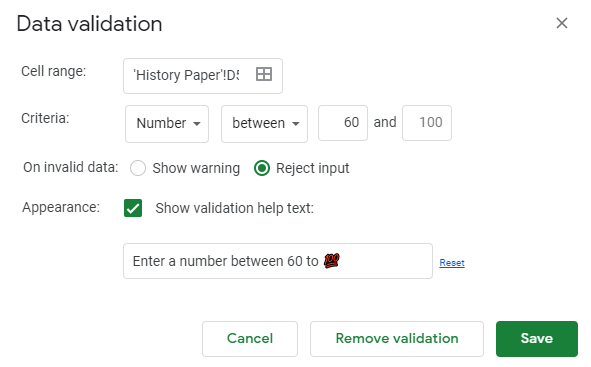
- A pop-up would appear for you to customize your data validation. First, enter the cell range. In our example, it would be D5:D9.
- Then, tailor the criteria of the data validation to your liking. This example would be setting it to “Number” and “between” “60” to “100”.
- Next, you can either select Show warning which shows a warning sign when people try to input anything other than numbers into the cell, or Reject input which would reject input of anything other than numbers into the cell.
- Lastly, you can also customize a validation help text to let people understand the data validation criteria.
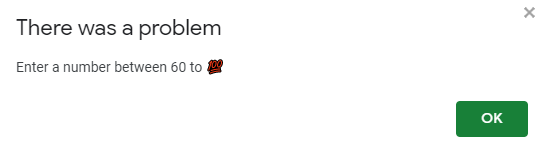
- When anyone tries to enter anything other than numbers into the selected cells, a validation help text would appear.
You may make a copy of the spreadsheet using the link attached below and try it for yourself:
There you go! Three easy ways to protect your data in Google Sheet from getting accidentally or intentionally changed.
However, understand that these should not be used as security measures as people can print, copy, paste, and export copies of the protected Google Sheets. Hence, only share Google Sheets with the people you trust! 🧐


